
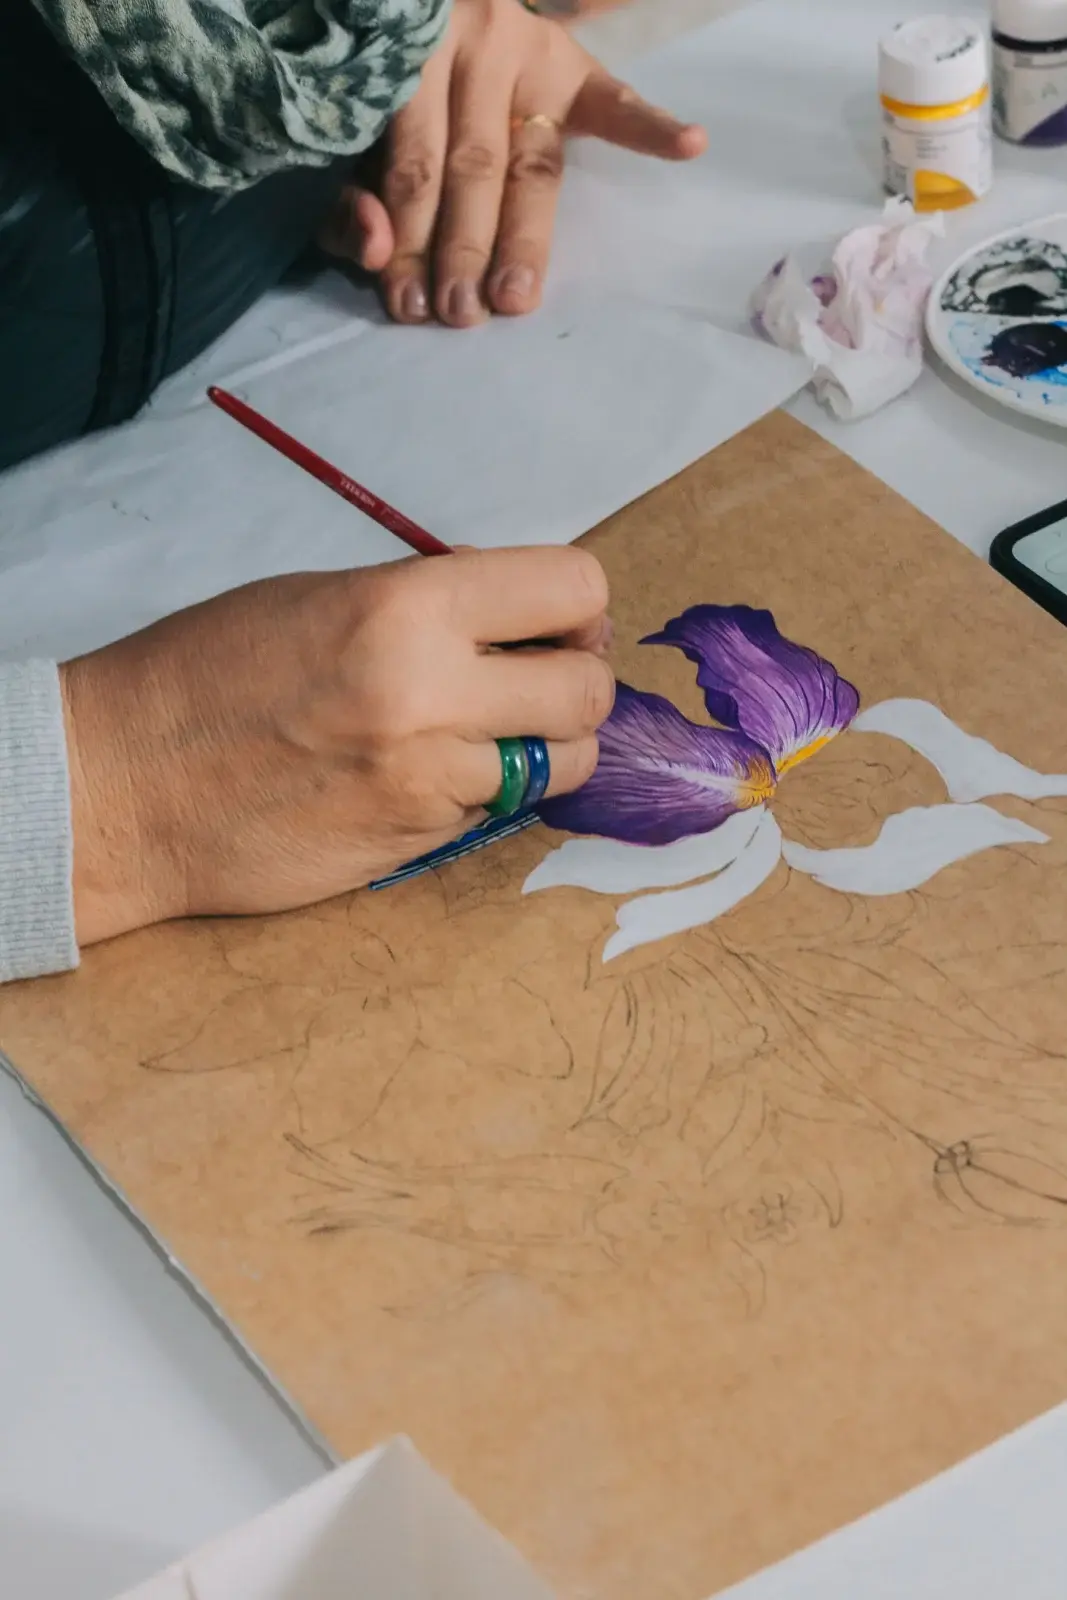
Muddy florals usually come from wet colors mixing on the canvas, not from “wrong” pigments. Acrylics let you stack clean layers if each coat is dry enough and if you keep warm and cool mixes from fighting each other.
Underpaint the flower as a simple shape
Block the whole bloom as one mid-value mass first. This sets the silhouette and keeps later petals from floating. Use a color close to the finished flower but slightly duller so bright top layers can sit on top.
Wait for tack, then stack
Touch the surface lightly. If paint comes off on your fingertip, wait. When it feels dry or only slightly tacky, add individual petals with a round or filbert. Work from back petals to front petals so overlaps look natural.
For lighter edges, mix the petal color with titanium white on the palette, not by scrubbing white into a wet petal on the canvas. Scrubbing remobilizes the underlayer and turns pink into gray.
Keep a clean brush and a clean water jar
Rinse thoroughly between warm and cool mixes. Dirty rinse water is a common source of dull florals. Two jars help: one for the first rinse, one for a final clean dip.
- Glaze thin transparent color over dry petals for depth.
- Save the lightest highlights for last, as small opaque touches.
- If a petal goes muddy, let it dry and repaint it opaquely rather than trying to rescue it wet.
Pair this with loose round-brush florals when you want speed, or with the palette-knife floral ideas when you want thicker texture.
Choosing petal color temperature
Warm pinks (cadmium red hue + white) advance; cooler pinks (quinacridone magenta + white) recede. Put warmer tints on the petals closest to you and slightly cooler mixes on back petals. That small shift creates depth even when edges stay soft.
Materials and mindset
You need patience more than special mediums. A stay-wet palette helps, but dry layers are the real safeguard against mud. Keep two water jars and a dedicated wipe cloth.
Petal stacking workflow
- Silhouette the bloom in a mid dull color.
- Dry to the touch.
- Add back-row petals.
- Dry again.
- Add front petals with cleaner tints.
- Glaze optional transparent depth.
- Place final opaque highlights sparingly.
Why wet scrubbing fails
Scrubbing remobilizes underlayers and blends complements into gray. If you need to fix a shape, either blend while fully wet in one sitting or wait and cover opaquely. There is little productive middle ground.
Variations
- Peony-style mass with fewer edge details
- Daisy-style long petals with clearer gaps
- Limited palette monochrome flower for value practice
When you want speed instead of layered realism, switch to the one-stroke approach in loose florals with a round brush.
Glazing versus body color
Body color is opaque or heavy paint that covers. A glaze is a thin transparent film over dry paint. Use body color to correct shapes; use glazes to enrich shadows or warm a cheek of a petal without redrawing it. If you glaze too early on a tacky layer, you lift paint and create streaks that look like mud even when the hues were compatible.
Keep a written note of mixes that worked for a favorite flower. Acrylics dry slightly darker in many cases, so a mix that looks perfect wet may need a touch more white or a second light pass once dry. Testing swatches beside the painting saves grief.
When painting white flowers, tint the “white” with surrounding colors in the shadows. Pure titanium white everywhere flattens form. Save the whitest touches for a few terminal highlights.
Session planning
Work in timed sessions. A thirty-minute block for blocking shapes and a later block for edges keeps decisions clearer than a single exhausted evening. Photograph the painting in daylight at the end of each session so you can judge values without wet-paint optimism.
Keep a paper towel diary swatch of key mixes with a one-line note (“crest turquoise”, “far hill”). Acrylic mix memory fades quickly once piles skin over.
Return to this guide after one practice canvas and note which step failed first: drawing, value, color, or edges. Fix that step on the next canvas instead of changing every variable at once.
Layer schedules you can actually follow
Acrylic layering fails when schedules are vague. Use a simple rule: if your fingerprint lifts color, do not stack opaque petals yet. If you must keep working, switch to a different flower or the background instead of worrying the same wet bloom.
Plan cool back petals and warmer forward petals when painting red or pink flowers. The shift can be subtle. Even a small temperature change reads as form once edges overlap correctly.
For patterned petals (roses, peonies), mass the overall silhouette first, then carve lighter petals out of the mass with opaque tints, then deepen crevices with transparent darker mixes. Working only edge-by-edge without a mass underneath often creates a bag of unrelated shapes.
White highlights should be scarce. If every petal rim is pure white, form collapses into lace. Place the brightest rim nearest the light and keep other rims tinted.
When mud happens, diagnose: dirty rinse water, complementary overmixing, or scrubbing into semi-dry paint. Each cause has a different fix. Clean water, palette mixing, and patience solve more floral mud than any medium bottle.
Putting it into a weekly practice
Choose one small canvas size and repeat the same exercise three times in one week rather than inventing a new subject every session. Repetition reveals which mistakes are habits. Keep notes on drying time in your room, which mixes skinned too fast, and which edges looked best in a daytime photo.
Share progress with yourself by lining up the three attempts side by side. The middle attempt is often where understanding appears: not yet polished, but clearer than the first. Use the third attempt to apply only one improvement goal, such as cleaner edges or better value range.
When a painting fails, scrape or gesso over it and reuse the panel for drills. Failure panels are cheaper teachers than unused premium canvases that intimidate you into stillness. Momentum matters more than preciousness while skills are forming.
Finally, connect technique pages to subject hubs so practice has a destination. A blending drill should lead to a finished small landscape; a dry-brush drill should lead to a small animal study. Technique without a next painting becomes abstract advice that evaporates.
Color scripts for layered florals
Pick a dominant petal hue family and a supporting neutral. Constantly introducing new tube pinks creates disharmony. Mix a dark, mid and light of the same family on the palette before petal stacking begins.
Complementary greens for leaves should be mixed to sit behind flowers: usually lower chroma than the blooms. Neon foliage steals attention from petal work you spent hours refining.
Photograph after each dry layer. Layering is easier to evaluate in still images than under wet glare. Keep going only while each photo shows clearer form than the last.
\nStudio habits for layered florals
Set a single measurable goal before each session, such as “softer joins,” “stronger darks,” or “fewer corrective scrubs.” Goals that try to fix everything produce scattered attention. Write the goal on painter tape at the easel edge.
Use inexpensive panels for drills and reserve better canvases for attempts that apply a drill successfully. This separation reduces fear and increases reps. Track reps with hash marks on a calendar; skill in acrylic handling is closer to deliberate practice than to inspiration hunting.
When stuck, copy a five-minute passage from a teaching video onto scrap without aiming for a finished painting. The point is motor learning: brush angle, load, and timing. Then return to your own composition and apply only that motion.
End sessions by noting one keep and one change. Keep notes short. Over time the notebook becomes a personal troubleshooting index more useful than generic tips, because it reflects your room, paints and habits.
Revisit this guide after three practice pieces. If the same failure repeats, change only the related step in the workflow rather than abandoning the subject. Persistence with targeted adjustment beats constant subject hopping.
\n
Hi, I’m Camille. I write The Everyday Painter, where I share acrylic painting ideas, beginner guides and practical fixes for common painting problems. I love color, simple compositions and projects that fit into an ordinary evening.