
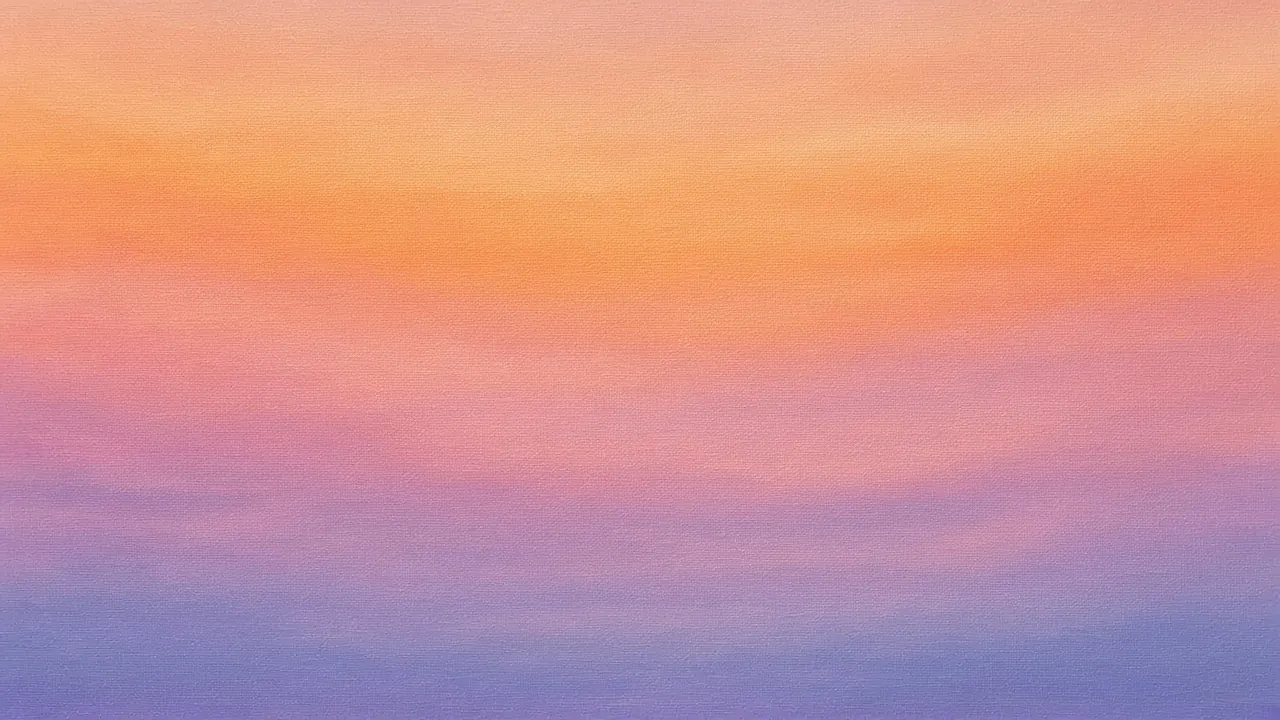
Sunset skies look soft and glowing in photos, then come out banded or muddy on canvas. Acrylics dry fast, so the wet-into-wet blends that oils allow need a slightly different approach. This guide covers a reliable order of work, which brushes help, and how to keep warm colors from turning brown.
If you already have a short supply list, a large flat brush and titanium white are the two tools that matter most here. Our beginner supplies guide covers the rest.
Plan the sky before the paint goes down
Decide where the sun sits and which band is lightest. Most sunsets read as three to five horizontal bands: deep violet or blue at the top, then magenta or coral, then orange or yellow near the horizon. Sketch those bands lightly in pencil so you know where each color belongs.
Keep the sun itself small. A tiny bright spot with a soft halo looks more convincing than a large yellow circle.
Work from dark to light, wet into wet
Start at the top with a slightly thinned mix of ultramarine and a touch of magenta or crimson. Lay a band across the canvas with a large flat brush. Immediately load a warmer band (magenta into coral, or coral into cadmium yellow hue) and pull the brush along the edge of the first band while it is still wet. Soften the join with a clean, slightly damp flat brush held almost flat to the surface.
Do not scrub. Soft zig-zag or horizontal strokes pull the two colors into each other without mixing them into brown. Wipe the softening brush often so you are not dragging muddy paint back into the light band.
If a band skins over before you finish, mist the area lightly with a spray bottle, or switch to a soft dry brush and feather the edge once the underlayer is just tacky. Retarder medium helps if you regularly lose the wet window, but it is optional for a first try.
Keep the horizon soft and the sun bright
Near the horizon, add more white and yellow. Leave a soft glow around the sun by dabbing a pale mix outward with a clean finger or a soft round, then restore a tiny white-yellow core. Avoid outlining the sun with a hard ring.
Landforms and water come last. Silhouette hills, trees or a shoreline against the finished sky with a dark mix (ultramarine + burnt umber works well). Soften the top edge of the silhouette slightly so it sits in the atmosphere instead of looking stuck on.
Common mistakes
- Too much water. Over-thinned paint looks streaky and lifts when you blend. Use a little water for flow, not a wash.
- Mixing red and green accidentally. Coral next to a blue-green band will muddy. Keep warm and cool bands separated by a transitional pink or soft violet.
- Hard band edges. Soften every join while wet. A stripy sky is usually a timing problem, not a color problem.
- Skipping white. White is how you get glow. Without it, yellows and oranges look flat.
Once the sky is dry, you can glaze a thin warm wash near the sun for extra glow. For subject ideas after the sky works, browse our sunset acrylic painting ideas and the landscape hub.
Materials for a practice sunset
- Pre-primed canvas about 9×12 in or 11×14 in
- Large flat synthetic, medium flat, soft round, liner
- Titanium white, ultramarine, crimson or magenta, cadmium yellow hue or similar, optional burnt umber
- Spray bottle, two water jars, paper towels
Full sequence
- Sketch horizon and sun placement lightly.
- Mix three to five sky values on the palette before touching the canvas.
- Lay the top cool band, then work downward into warmer bands while edges stay open.
- Soften joins with a clean damp flat using light horizontal passes.
- Place the sun glow and tiny core last among the sky steps.
- Add land or water silhouettes only after the sky is set enough not to lift.
If a band dries too fast, mist lightly or switch to scumbling a soft dry brush over the edge once tacky. Avoid flooding the area with water, which causes drips and backruns.
Color notes that prevent mud
Keep a clean brush for light yellows. Contaminated yellow turns olive next to blues. Wipe the softening brush often. When coral meets a greenish band, insert a transitional pink or soft violet rather than scrubbing them together.
Variations
- Soft overcast sunset: lower contrast, more white in every band.
- Dramatic afterglow: deeper top violet, narrower hot band near the horizon.
- Reflected sky in water: repeat sky colors vertically with broken horizontal strokes, then darken the water slightly.
Troubleshooting
- Stripes: edges dried; work smaller sections or extend open time.
- Chalky glow: too much white everywhere — reserve the lightest mix for the sun area.
- Brown mud: warm and cool complements overmixed on the canvas.
FAQ: Medium is optional for a first sunset. Plain paint, controlled water, and decisive timing matter more than additives.
Timing windows in real rooms
Open time depends on humidity, airflow, canvas absorbency and how thinly you paint. In a dry, heated room, a band may skin in a couple of minutes. In humid weather you may get longer. Learn your room by painting a test strip of two colors and watching how long you can still feather the join.
Work in sections if the canvas is large: complete a vertical slice of sky from top to horizon, then move sideways while keeping a wet edge. A wet edge is simply an area still workable enough to blend into. Losing the wet edge is the usual cause of stripes, not a mysterious lack of talent.
Silhouettes deserve their own mix. Ultramarine plus burnt umber makes a flexible dark that feels less dead than tube black in evening scenes. Soften only the top of the silhouette into the sky; a razor edge on every tree against a soft sunset looks cut from paper.
If you want stronger glow after the sky dries, glaze a thin warm transparent wash around the sun. Glazing is optional and easier once you are comfortable with the base blend. Keep the glaze weak; you can always add a second pass, but a heavy glaze can dirty a light sky quickly.
Related practice: paint the same sky recipe three times at postcard size. The repetition teaches timing faster than one large frustrating canvas. Then move to a landscape idea from the Landscapes, Skies & Water hub.
Session planning
Work in timed sessions. A thirty-minute block for blocking shapes and a later block for edges keeps decisions clearer than a single exhausted evening. Photograph the painting in daylight at the end of each session so you can judge values without wet-paint optimism.
Keep a paper towel diary swatch of key mixes with a one-line note (“crest turquoise”, “far hill”). Acrylic mix memory fades quickly once piles skin over.
Return to this guide after one practice canvas and note which step failed first: drawing, value, color, or edges. Fix that step on the next canvas instead of changing every variable at once.
Building a reliable sunset palette
Lay out titanium white, a cool yellow such as lemon or cadmium yellow light hue, a warmer yellow or light orange if you have it, a warm red or naphthol red, quinacridone magenta or alizarin hue, ultramarine, and a touch of burnt umber for silhouettes. You do not need every tube for every painting. For a simple warm sunset, white, yellow, coral-red and ultramarine already create a wide range when mixed deliberately on the palette rather than scrubbed on the canvas.
Premix five piles before you touch the sky: deep top violet-blue, mid magenta-violet, coral, light orange-yellow, and near-white yellow for the sun core. Having piles ready means you are not hunting for color while a wet edge dies. Keep a clean knife for the lightest pile so it stays clean.
Think about the light source as a small lamp. The closer a sky band sits to that lamp, the lighter and warmer it usually becomes in a classic clear sunset. The top of the sky often remains cooler. Exceptions exist — pollution, clouds, and afterglow can flip expectations — but the classic model is a strong teaching scaffold.
Brush path matters. Horizontal strokes support banded skies. Vertical scrubbing through bands muddy them. When softening, keep the brush nearly flat and move parallel to the horizon. Wipe the brush every few passes. A dirty softener is a mud factory.
If you are painting water under the sky, decide whether the water is calm enough to mirror bands or broken enough to shatter them. Calm mirrors want softened vertical echoes of sky color. Broken water wants shorter horizontal marks and darker averages. Do not try to invent perfect reflections while the sky is still wet unless you are experienced; dry the sky first on early attempts.
Clouds, if any, should be mixed from sky colors plus white, not from a separate unrelated gray. Place cloud shadows with a cooler or darker version of the surrounding band. Bright cloud edges face the light. Over-outlined clouds look sticker-like against a soft sunset.
A practical critique checklist after the sky dries: Are joins soft? Is the lightest light near the sun? Did any greenish mud appear where warm and cool met? Is the silhouette darker than the sky immediately behind it? Fix only the worst problem on the next pass.

Hi, I’m Camille. I write The Everyday Painter, where I share acrylic painting ideas, beginner guides and practical fixes for common painting problems. I love color, simple compositions and projects that fit into an ordinary evening.