
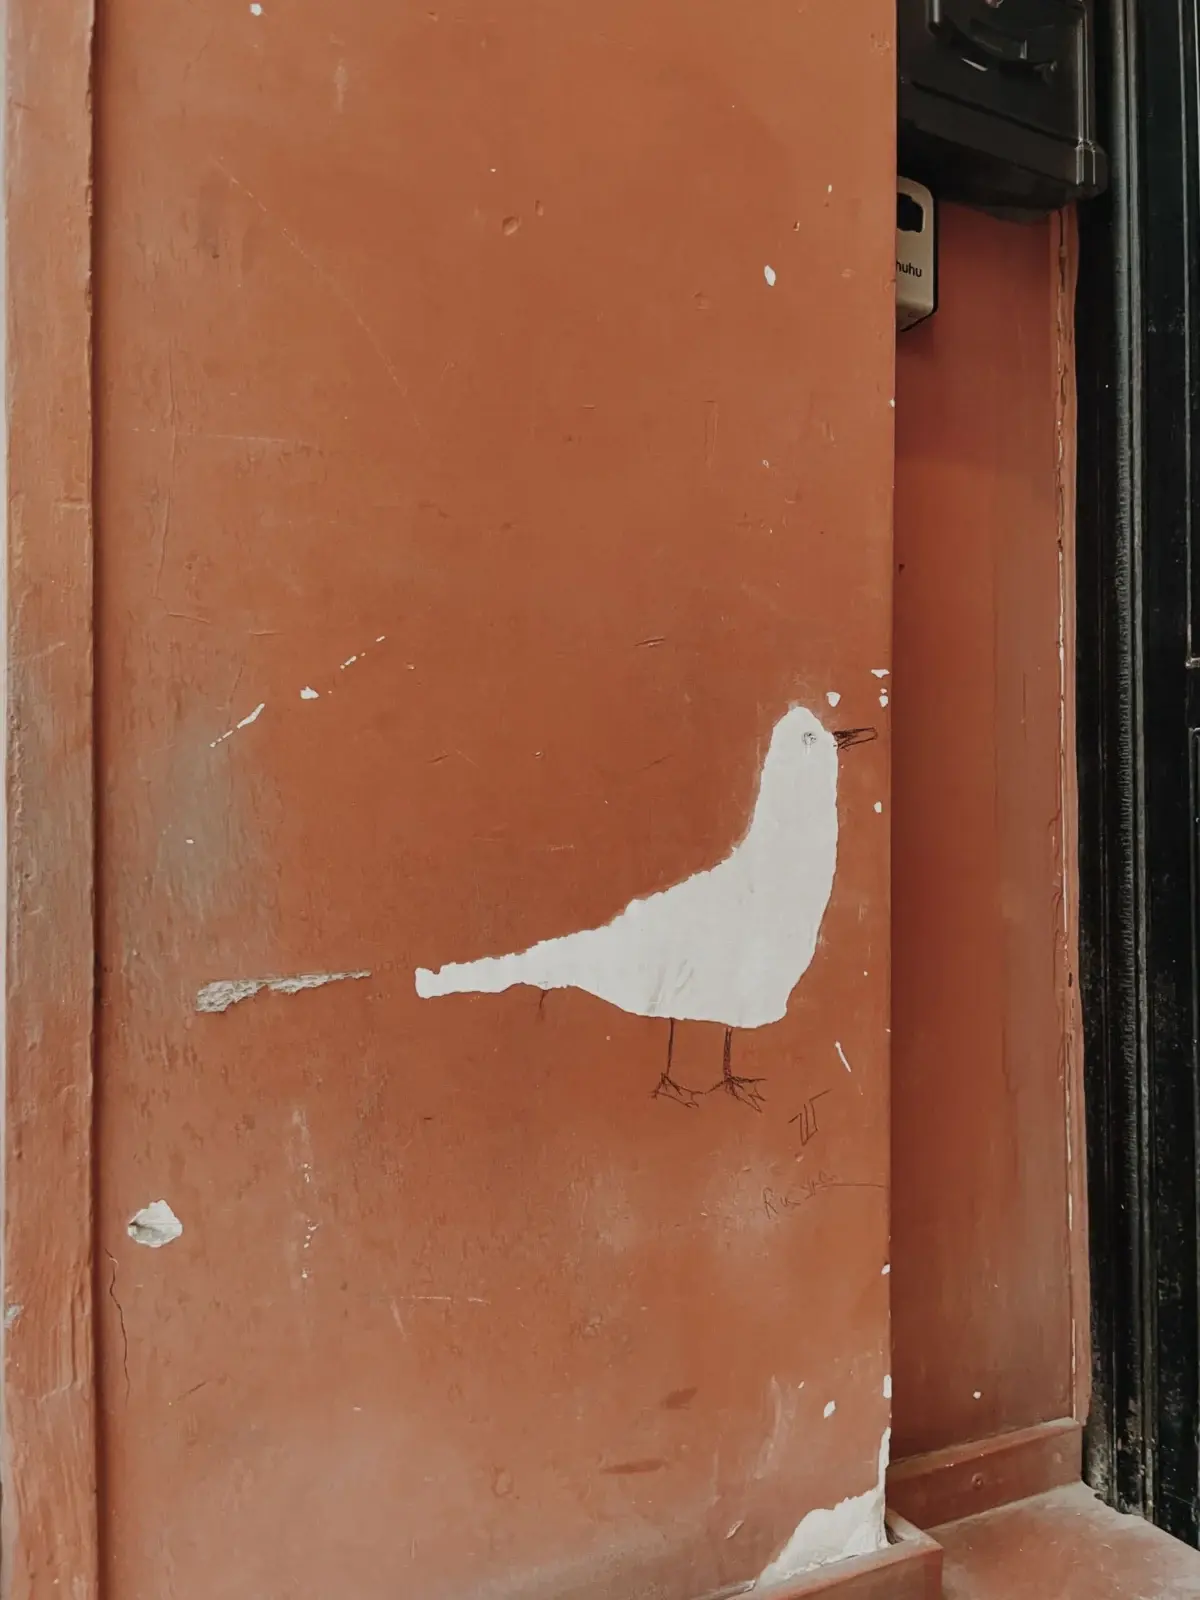
Bird silhouettes skip feather detail and focus on a clear outline against a sky or branch. They are a fast way to practice composition and value while still finishing a painting that looks intentional on the wall.
Start with the sky and perch
Paint a soft sky or simple gradient first and let it dry. Add a branch, wire or reed with a liner brush. Keep the perch thinner than you think; thick branches overwhelm small birds.
One dark shape, one accent
Mix a near-black from ultramarine and burnt umber. Block the bird as a simple body oval, a smaller head oval, a triangle beak and a tail shape. Soften the belly edge slightly if you want less cut-paper contrast.
A single catchlight in the eye or a tiny warm rim light on the breast is enough accent. Resist adding every feather.
Composition tips
- Place the bird off-center using a rule-of-thirds point.
- Leave more sky in the direction the bird faces.
- Use one bird or a small group of three; even numbers often look static.
When you want more feather detail later, move on to the bird acrylic painting ideas and the dry-brush approach in our fur texture guide (short strokes work for feathers too).
When to add a second bird
A second silhouette can balance the composition if it is smaller or lower in contrast. Keep the second bird quieter so one remains the focal point. Overlap a shared branch to unite them. If both birds have equal size and equal contrast, the painting often feels indecisive.
Materials
- Large flat for sky, liner for perch and legs, small round for the eye accent
- Sky colors, ultramarine + burnt umber for the silhouette, titanium white
Step-by-step
- Paint and dry a soft sky gradient.
- Add a thin branch or wire.
- Block body, head, beak and tail as simple shapes.
- Soften the belly edge slightly if needed.
- Add one eye accent or rim light.
- Stop before feather mania begins.
Composition checklist
- Bird on a thirds point
- More space in the facing direction
- Perch thinner than the bird body
- One dominant bird if using a group
When you are ready for feathers, short dry-brush strokes from the fur texture guide transfer well to wing edges.
Sky choices for silhouettes
Gradients from ultramarine to a lighter horizon help the dark bird read clearly. Sunset silhouettes work when the sky is blended first using ideas from the sunset sky guide, then the bird is placed as a near-black accent. Avoid putting a busy cloud pattern directly behind a delicate silhouette; contrast gets lost.
Legs are easy to over-thicken. Use a liner with paint the consistency of light cream. Two quick strokes beat a slow, heavy trail. If a leg goes crooked, wait for dry and restated with sky color before trying again.
Series idea: three small panels with the same bird shape against morning, noon and evening skies. You will learn more about value contrast than from one overworked complex scene.
Session planning
Work in timed sessions. A thirty-minute block for blocking shapes and a later block for edges keeps decisions clearer than a single exhausted evening. Photograph the painting in daylight at the end of each session so you can judge values without wet-paint optimism.
Keep a paper towel diary swatch of key mixes with a one-line note (“crest turquoise”, “far hill”). Acrylic mix memory fades quickly once piles skin over.
Return to this guide after one practice canvas and note which step failed first: drawing, value, color, or edges. Fix that step on the next canvas instead of changing every variable at once.
Gesture before feathers
A silhouette must read as a living gesture: alert, resting, taking off. Gesture lives in the angle of the body oval to the head oval and in the tail’s direction. If the gesture is dull, feather detail will not save it.
Use reference for species-specific outlines when you want recognition, but simplify aggressively. A sparrow silhouette that reads as “small songbird” is enough for many decorative paintings. Label accuracy matters more in field-guide art than in mood pieces.
Branches create depth when they cross with varying thickness and broken edges. A perfectly smooth, even-width branch looks like a metal rod. Add a few small forks or buds, then stop.
If you add a second bird, reduce its contrast or size. Equal twin birds often create a visual tennis match. Overlap them on one perch line to unify the design.
Background mist or soft vignette can hide awkward lower edges of perches. Keep it subtle so it does not look like a spotlight mistake.
Putting it into a weekly practice
Choose one small canvas size and repeat the same exercise three times in one week rather than inventing a new subject every session. Repetition reveals which mistakes are habits. Keep notes on drying time in your room, which mixes skinned too fast, and which edges looked best in a daytime photo.
Share progress with yourself by lining up the three attempts side by side. The middle attempt is often where understanding appears: not yet polished, but clearer than the first. Use the third attempt to apply only one improvement goal, such as cleaner edges or better value range.
When a painting fails, scrape or gesso over it and reuse the panel for drills. Failure panels are cheaper teachers than unused premium canvases that intimidate you into stillness. Momentum matters more than preciousness while skills are forming.
Finally, connect technique pages to subject hubs so practice has a destination. A blending drill should lead to a finished small landscape; a dry-brush drill should lead to a small animal study. Technique without a next painting becomes abstract advice that evaporates.
Lighting and value for silhouettes
Silhouettes need a sky value light enough, or a background quiet enough, for the dark bird to separate. Mid-value birds on mid-value cloudy skies vanish. Raise sky lightness or deepen the bird mix. A test swatch of the bird dark on the dried sky saves repainting.
Rim light is optional. A thin cool light along the breast can imply a second light source, but keep it narrow. Thick rim lights turn silhouettes into outlined cartoons. Prefer one strategy: pure silhouette or softly lit form, not both fighting.
Try a mini series of the same perched shape at dawn, midday and dusk values. You will learn contrast faster than by reading another tip list.
\nStudio habits for silhouette series
Set a single measurable goal before each session, such as “softer joins,” “stronger darks,” or “fewer corrective scrubs.” Goals that try to fix everything produce scattered attention. Write the goal on painter tape at the easel edge.
Use inexpensive panels for drills and reserve better canvases for attempts that apply a drill successfully. This separation reduces fear and increases reps. Track reps with hash marks on a calendar; skill in acrylic handling is closer to deliberate practice than to inspiration hunting.
When stuck, copy a five-minute passage from a teaching video onto scrap without aiming for a finished painting. The point is motor learning: brush angle, load, and timing. Then return to your own composition and apply only that motion.
End sessions by noting one keep and one change. Keep notes short. Over time the notebook becomes a personal troubleshooting index more useful than generic tips, because it reflects your room, paints and habits.
Revisit this guide after three practice pieces. If the same failure repeats, change only the related step in the workflow rather than abandoning the subject. Persistence with targeted adjustment beats constant subject hopping.
\n
Hi, I’m Camille. I write The Everyday Painter, where I share acrylic painting ideas, beginner guides and practical fixes for common painting problems. I love color, simple compositions and projects that fit into an ordinary evening.