
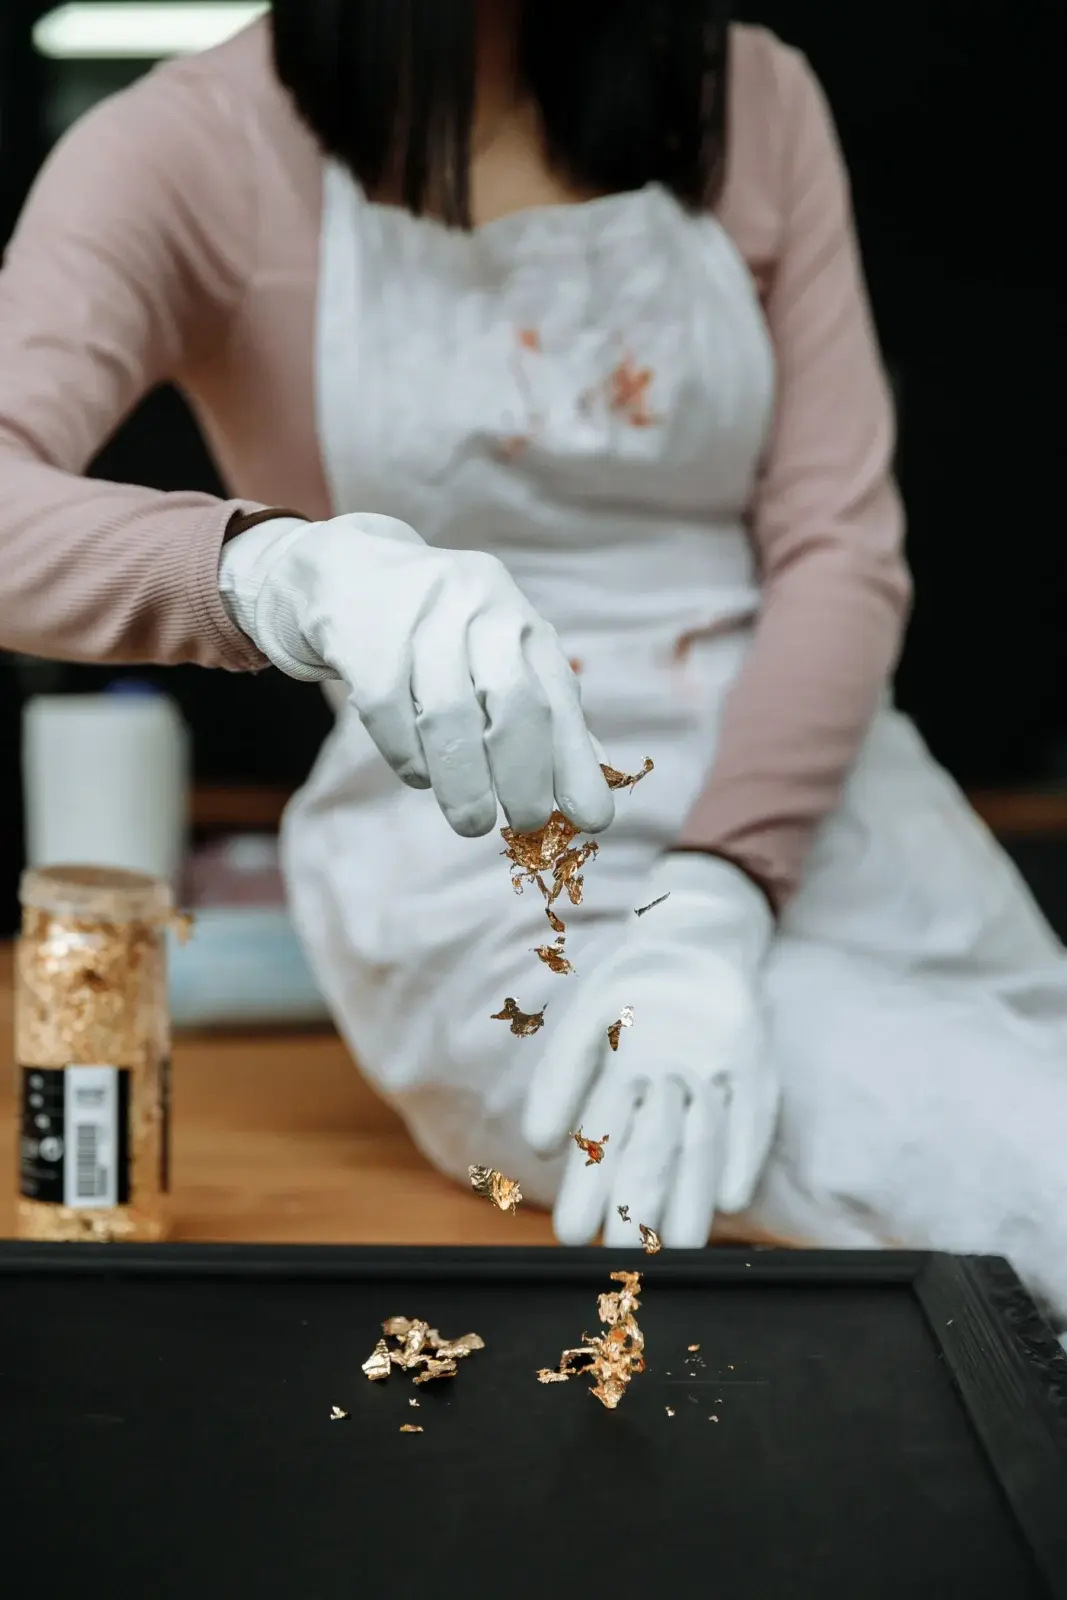
Imitation gold leaf (composition leaf) can add a metallic accent to acrylic paintings when it is applied over the right adhesive size and sealed afterward. This is a materials overview, not a guarantee of archival museum performance. Always follow the size and leaf manufacturer instructions for your climate.
What you need
- Imitation gold leaf sheets (composition leaf is common and affordable; genuine gold leaf behaves differently and costs more).
- Acrylic leaf size / adhesive sized for indoor artwork, or a brand-recommended acrylic size.
- Soft brush for applying size, a gilder’s tip or clean soft brush for laying leaf, and cotton gloves or a soft cloth.
- A clear acrylic sealer or varnish compatible with leaf (many artists use a spray sealer first to avoid dragging).
Basic sequence
- Finish and dry the acrylic painting areas that will surround the leaf.
- Paint size only where you want metal. Keep edges intentional.
- Wait until the size reaches the tack stage described on the bottle (often slightly tacky, not wet).
- Lay leaf, press gently, then brush away excess (skewings).
- When fully dry, seal the leaf so it does not tarnish or flake from handling.
Claims to avoid
Leaf will not automatically make a painting archival. Composition leaf can tarnish if left unsealed. Thick acrylic under leaf must be dry. If a product claims outdoor durability, check that specific system; do not assume indoor size works outside.
Use leaf as an accent on a strong composition rather than covering the whole canvas. See abstract composition basics and texture mediums for supporting techniques.
Design before leaf
Mask or tape edges if you need a crisp metallic shape. Leaf looks best as a planned accent on dry acrylic, not as a rescue for a weak composition. Photograph your painting before sealing so you have a record of the metal placement.
Materials checklist
- Imitation (composition) leaf or genuine leaf if you accept the cost difference
- Acrylic size / leaf adhesive suited to indoor artwork
- Soft application brush, soft brush or cotton for pressing, gloves
- Clear sealer compatible with leaf
Detailed sequence
- Finish surrounding acrylic passages and dry them.
- Paint size only where metal should appear.
- Wait for the tack stage described by the manufacturer.
- Lay leaf, press, remove skewings.
- Dry fully, then seal to reduce tarnish and flaking from handling.
Design advice
Use leaf as punctuation on a strong composition. Covering a weak abstract with metal rarely saves it. Tape edges for crisp shapes. Photograph before sealing.
Claims to avoid
- Do not assume indoor size systems are outdoor-proof.
- Do not skip sealing composition leaf if tarnish resistance matters.
- Do not apply leaf over uncured thick acrylic.
FAQ: Genuine gold leaf and composition leaf are not interchangeable in cost, handling or tarnish behavior. Read the specific product sheet for the system you buy.
Studio practicalities
Leaf blows easily. Close windows, reduce fan airflow, and work on a clean surface where skewings can be collected. Composition leaf tarnish resistance improves with a proper sealer; handle unsealed leaf gently.
Test your size-and-leaf system on scrap before touching a finished painting. Adhesive open times differ. Jumping into a large complex shape on the only good canvas is how expensive mistakes happen.
If leaf cracks on a flexible canvas, consider applying it on a rigid panel next time or keeping leaf areas smaller. Always defer to the adhesive and leaf manufacturers for specialty architectures or outdoor claims.
Session planning
Work in timed sessions. A thirty-minute block for blocking shapes and a later block for edges keeps decisions clearer than a single exhausted evening. Photograph the painting in daylight at the end of each session so you can judge values without wet-paint optimism.
Keep a paper towel diary swatch of key mixes with a one-line note (“crest turquoise”, “far hill”). Acrylic mix memory fades quickly once piles skin over.
Return to this guide after one practice canvas and note which step failed first: drawing, value, color, or edges. Fix that step on the next canvas instead of changing every variable at once.
Integrating leaf with acrylic passages
Plan leaf shapes in the thumbnail stage, not as a rescue. Masking fluid is generally not the right tool for leaf adhesive systems; use tape or careful brush application of size instead.
Edges can be soft or hard. Torn leaf edges suit organic abstracts; sharp taped edges suit geometric designs. Mixing both can work if one type dominates.
Sealers differ: some spray sealers are easier over fragile leaf because they avoid brush drag; some brush-on varnish systems are recommended only after a protective premist. Follow the leaf and sealer pairing guidance for your products.
Composition leaf is often brass-based and can tarnish without protection. Genuine gold behaves differently and is priced accordingly. Choose based on project goals and budget, not on vague claims that “metal leaf always looks expensive.” Craftsmanship and design do more than metal area coverage.
Putting it into a weekly practice
Choose one small canvas size and repeat the same exercise three times in one week rather than inventing a new subject every session. Repetition reveals which mistakes are habits. Keep notes on drying time in your room, which mixes skinned too fast, and which edges looked best in a daytime photo.
Share progress with yourself by lining up the three attempts side by side. The middle attempt is often where understanding appears: not yet polished, but clearer than the first. Use the third attempt to apply only one improvement goal, such as cleaner edges or better value range.
When a painting fails, scrape or gesso over it and reuse the panel for drills. Failure panels are cheaper teachers than unused premium canvases that intimidate you into stillness. Momentum matters more than preciousness while skills are forming.
Finally, connect technique pages to subject hubs so practice has a destination. A blending drill should lead to a finished small landscape; a dry-brush drill should lead to a small animal study. Technique without a next painting becomes abstract advice that evaporates.
Beginner project outline
Paint a simple abstract with a clear focal rectangle. Leave that rectangle as flat acrylic color until dry. Apply size only inside the rectangle, leaf it, seal it, and evaluate whether the metal accent helps the design. This small controlled project teaches the adhesive timing without risking a complex painting.
If leaf refuses to stick, the size may be too wet or too dry — restart on scrap and note the minutes to tack in your room. If leaf tears constantly, you may be handling it with dry fingers in a draft; use transfer paper methods recommended by your leaf brand if available.
Store leftover leaf flat in its booklet away from humidity. Label sealed paintings with materials used so future varnish decisions are informed.
\nStudio habits for leaf projects
Set a single measurable goal before each session, such as “softer joins,” “stronger darks,” or “fewer corrective scrubs.” Goals that try to fix everything produce scattered attention. Write the goal on painter tape at the easel edge.
Use inexpensive panels for drills and reserve better canvases for attempts that apply a drill successfully. This separation reduces fear and increases reps. Track reps with hash marks on a calendar; skill in acrylic handling is closer to deliberate practice than to inspiration hunting.
When stuck, copy a five-minute passage from a teaching video onto scrap without aiming for a finished painting. The point is motor learning: brush angle, load, and timing. Then return to your own composition and apply only that motion.
End sessions by noting one keep and one change. Keep notes short. Over time the notebook becomes a personal troubleshooting index more useful than generic tips, because it reflects your room, paints and habits.
Revisit this guide after three practice pieces. If the same failure repeats, change only the related step in the workflow rather than abandoning the subject. Persistence with targeted adjustment beats constant subject hopping.
\n
Hi, I’m Camille. I write The Everyday Painter, where I share acrylic painting ideas, beginner guides and practical fixes for common painting problems. I love color, simple compositions and projects that fit into an ordinary evening.