
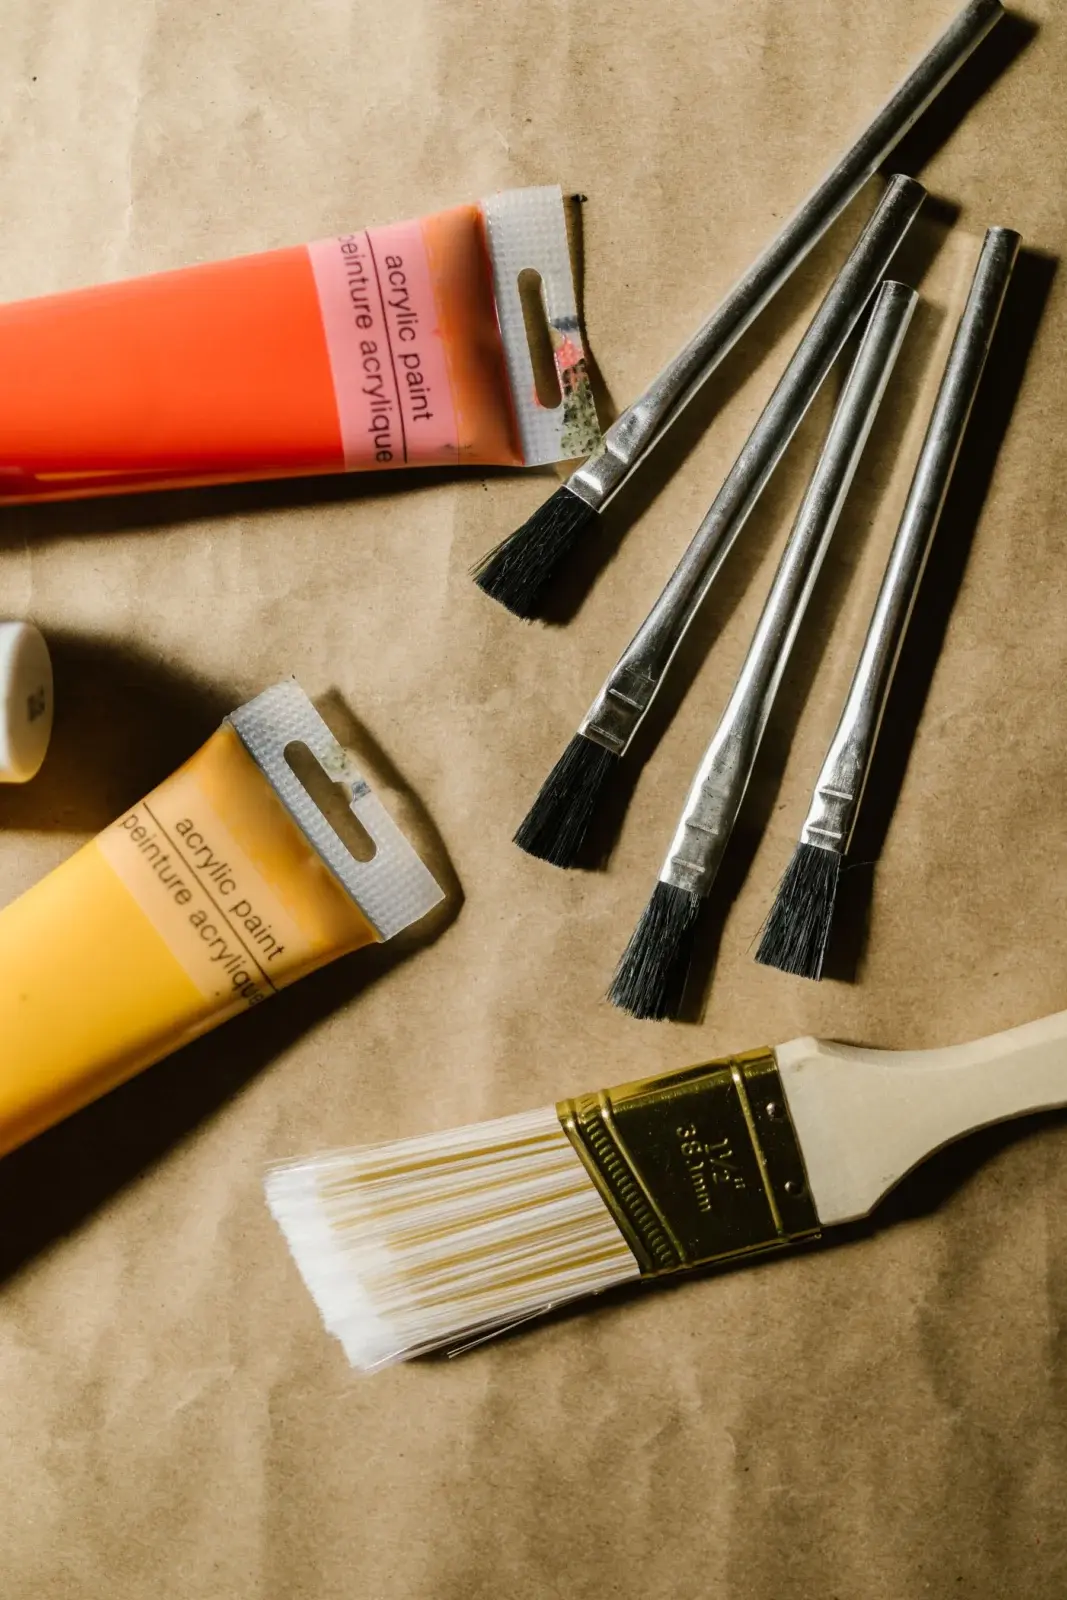
The first trip down the art aisle is confusing. There are forty kinds of brushes, paint sets with 48 tubes, canvases in every size, and mediums with names that sound like chemistry homework. The good news is that a first acrylic painting needs far less than the shelves suggest. This guide walks through what’s actually worth buying for your first few canvases, what can wait, and where it’s smart to spend a little more.
If you only want the short version, jump to the checklist near the end. If you’d like to understand why each item is on the list, read on.
Paint: a small palette beats a big set
Big boxed sets look like great value, but they usually include lots of convenience colors you’ll rarely touch. A short list of tubes you can mix from teaches you more about color and wastes less paint.
A practical starter palette looks like this:
- Titanium white, in a larger tube than the rest. You’ll use more white than any other color.
- A warm and a cool yellow, such as a cadmium yellow (or “cadmium yellow hue”) and a lemon yellow.
- A warm and a cool red, such as a cadmium red hue or naphthol red, plus a quinacridone magenta or crimson.
- A warm and a cool blue, usually ultramarine and phthalo blue.
- Optional: burnt umber and burnt sienna for quick darks and earthy mixes, and Mars black if you like a ready-made black.
Phthalo blue is very strong, so add it to mixes in tiny amounts. With these tubes you can mix greens, purples, oranges and soft grays, which covers most landscapes, florals and simple animal paintings.
Student-grade paint is completely fine for learning. If you’re curious about what changes when you move up, our student vs artist grade acrylic comparison explains labels, pigment codes and when the upgrade is worth it.
Brushes: three to five good synthetics
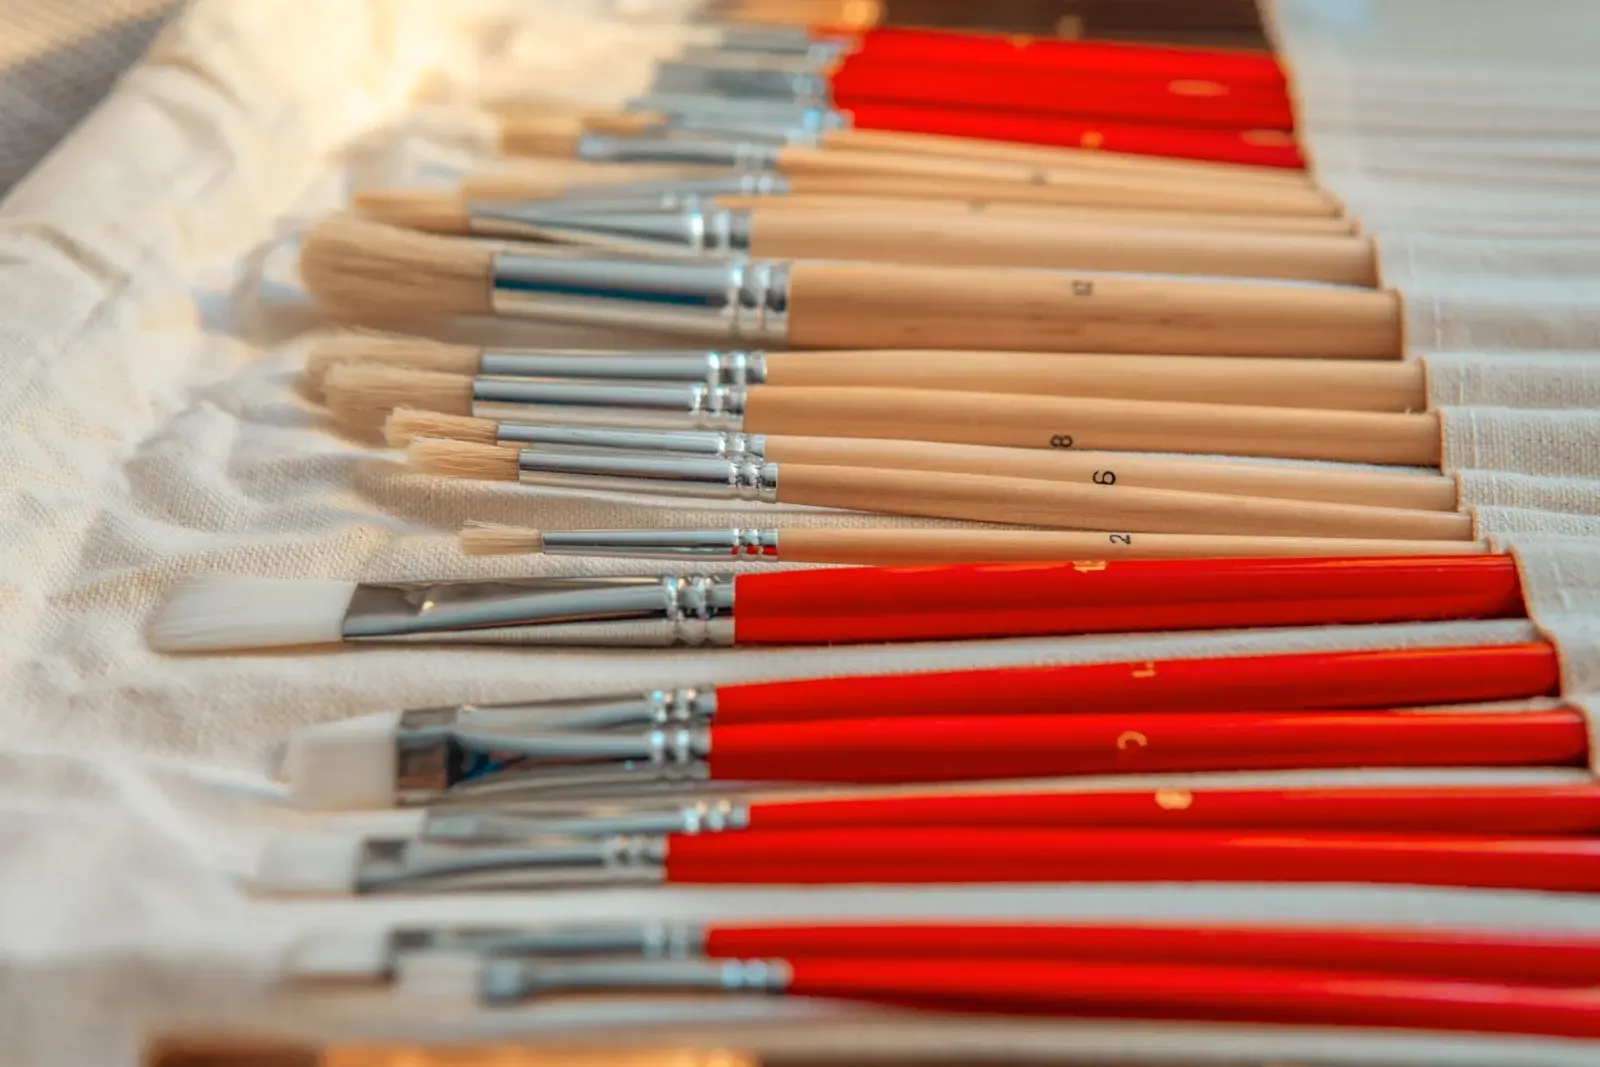
Acrylic paint is tough on natural hair, so synthetic brushes are the usual choice. Start with:
- A large flat (about 1 inch or a size 12 to 16) for backgrounds and skies.
- A medium flat or filbert for blocking in shapes.
- A small round for details and edges.
- A liner or rigger for branches, whiskers and fine lines.
Brush sizes aren’t standardized between brands, so judge by the actual width rather than the number. Our guide to acrylic brush shapes shows what each shape is good at.
Surfaces: canvas panels or pre-primed stretched canvas
For practice, canvas panels (canvas glued to board) are inexpensive, flat and easy to store. Stretched canvas feels more like a “real” painting and is ready to hang. Most store-bought canvases come already primed with acrylic gesso, which means you can paint straight away. Many people still add a coat or two of gesso for a smoother, less absorbent surface. Our gesso priming guide covers when that extra step helps.
Canvas isn’t the only option. Heavyweight acrylic or mixed-media paper is great for quick color studies, and wood or MDF panels work well once they’re sealed and primed. Avoid painting straight onto raw wood, cardboard or thin printer paper: they soak up paint and can warp, and raw wood can bleed yellowish stains up into light colors over time. If you do use them, seal and gesso first.
Sizes like 8×10 in or 9×12 in (around 20×25 cm or 23×30 cm) are friendly for a first painting: big enough to move your arm, small enough to finish in a sitting or two.
Palette, water and the boring essentials
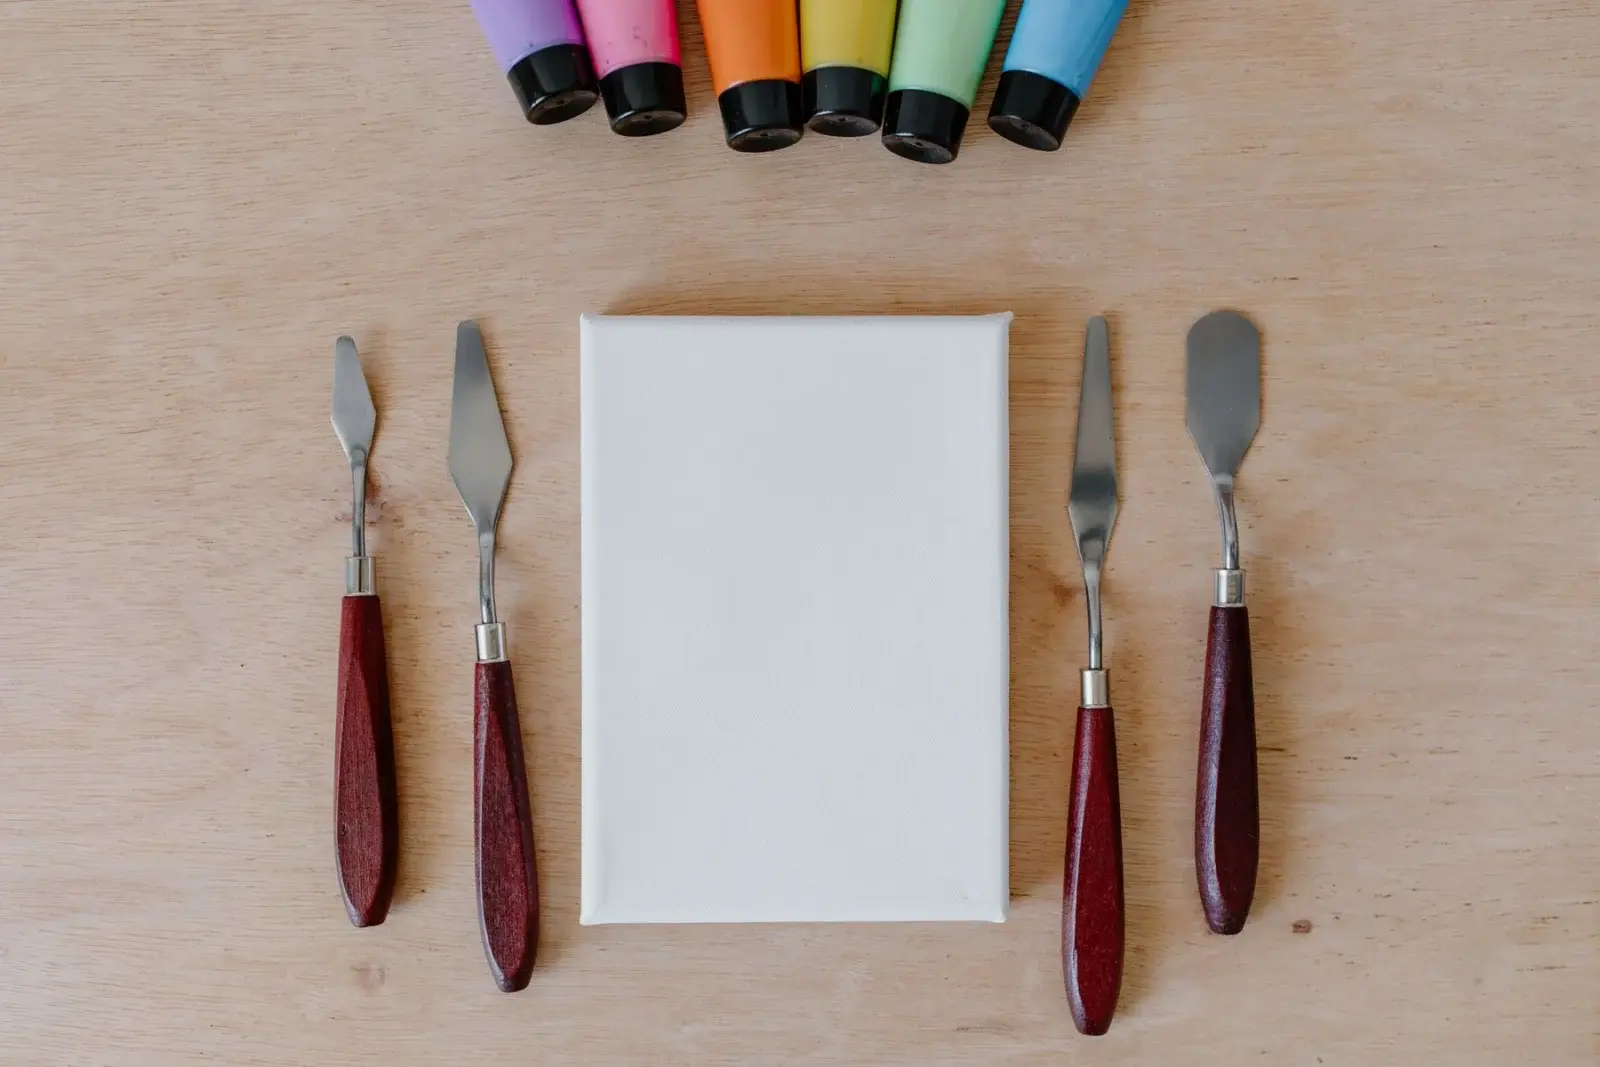
- A palette. A paper tear-off palette, a plastic palette or even a ceramic plate works. A “stay-wet” palette (a damp sponge under a sheet of palette paper in a lidded box) keeps acrylics workable much longer.
- Two water containers. One for the first rinse, one for clean water.
- Paper towels or an old cloth for blotting brushes.
- A palette knife for mixing larger amounts without wrecking your brushes.
- A spray bottle for misting paint on the palette so it doesn’t skin over.
- Brush soap or a mild soap for cleaning up.
What can wait
You don’t need these on day one:
- Mediums. Retarders, flow improvers and gel mediums are useful later. Plain paint and a little water is enough to start.
- A floor easel. A tabletop easel, or a canvas propped on a book, does the job.
- Varnish. Only needed once you have a painting you want to protect, and only after the paint has fully cured.
- Dozens of colors. Add a single convenience color, like a turquoise or a soft pink, once you know you’ll use it a lot.
Where spending a little more helps
If the budget allows one upgrade, I’d put it toward titanium white and one decent large flat brush. Cheap white is often weak, so light mixes look chalky and need several coats. A brush that holds its shape makes smooth backgrounds far easier. Everything else can stay inexpensive while you learn.
Beginner acrylic supply checklist
- Titanium white (large tube)
- Two yellows, two reds, two blues (one warm, one cool of each)
- Optional: burnt umber, burnt sienna, black
- Synthetic brushes: large flat, medium flat or filbert, small round, liner
- 3 to 5 canvas panels or pre-primed canvases, around 8×10 in
- Palette or stay-wet palette
- Two water jars, paper towels, spray bottle
- Palette knife
- Brush soap
Next steps
Once your table is set up, pick a simple subject with big shapes. Our beginner acrylic landscape ideas and mini canvas projects are good first picks. If your first layers look patchy, that’s normal. This troubleshooting guide on streaky acrylic coverage explains why it happens and how to fix it.
A first shopping trip that stays under control
Walk into the store with a written list and a spending cap. If a display set looks tempting, compare its actual tube sizes and pigment names to the short palette above. Many beginner kits look generous because they include twelve tiny tubes of convenience colors you will rarely open again. Buying five or six larger tubes of mixing colors usually lasts longer and teaches more.
Check brush tips in person when you can. A synthetic flat should spring back when you bend the bristles gently. Avoid packs where every brush already flares sideways in the package. For canvas, look for “pre-primed” or “acrylic primed” on the label. If the surface feels extremely rough and thirsty, plan on an extra gesso coat once you are home — the gesso priming guide covers that step.
Setup that prevents wasted paint
Acrylics skin over quickly on an open plate. Squeeze out less than you think you need, mist the piles lightly, and keep a lid or damp paper towel nearby. A stay-wet palette (sponge, permeable paper, airtight lid) is worth the shelf space if you paint for more than thirty minutes at a stretch. Put water jars where you will not knock them into the painting. Keep a dedicated rag for blotting; a soaked brush is one of the main reasons first coats look streaky.
Arrange your colors in a consistent order every session, warm to cool or light to dark. Muscle memory saves time when you are mixing under a drying sky. Leave a clean mixing area in the center of the palette so mud from prior mixes does not crawl into every new pile.
What “student grade” means in practice
Student paints are formulated for affordability. They often use less expensive pigment loads and more filler, which can mean thinner coverage and a chalkier mix when you add lots of white. That is not a reason to wait years before painting. It is a reason to expect two coats where an artist-grade tube might cover in one, and to read labels when you eventually upgrade a few workhorse colors. The comparison in student vs artist grade acrylics shows what to look for on the tube.
FAQ
Do I need an easel on day one? No. Prop the canvas against a stack of books or use a tabletop easel. Floor easels help later for larger work and better posture.
Can I paint on cardboard? Only if you seal and prime it. Raw cardboard warps and can stain. Heavy acrylic paper or canvas panels are simpler starters.
How many brushes is too many? If you own more brushes than you clean, you own too many. Four well-chosen synthetics beat a jar of bargain brushes with broken tips.
Finally, give yourself permission to paint before the kit feels perfect. A finished small study teaches more than another week of researching brushes. Use the supply checklist builder to print a list for the project type you want this month, then start.

Hi, I’m Camille. I write The Everyday Painter, where I share acrylic painting ideas, beginner guides and practical fixes for common painting problems. I love color, simple compositions and projects that fit into an ordinary evening.