
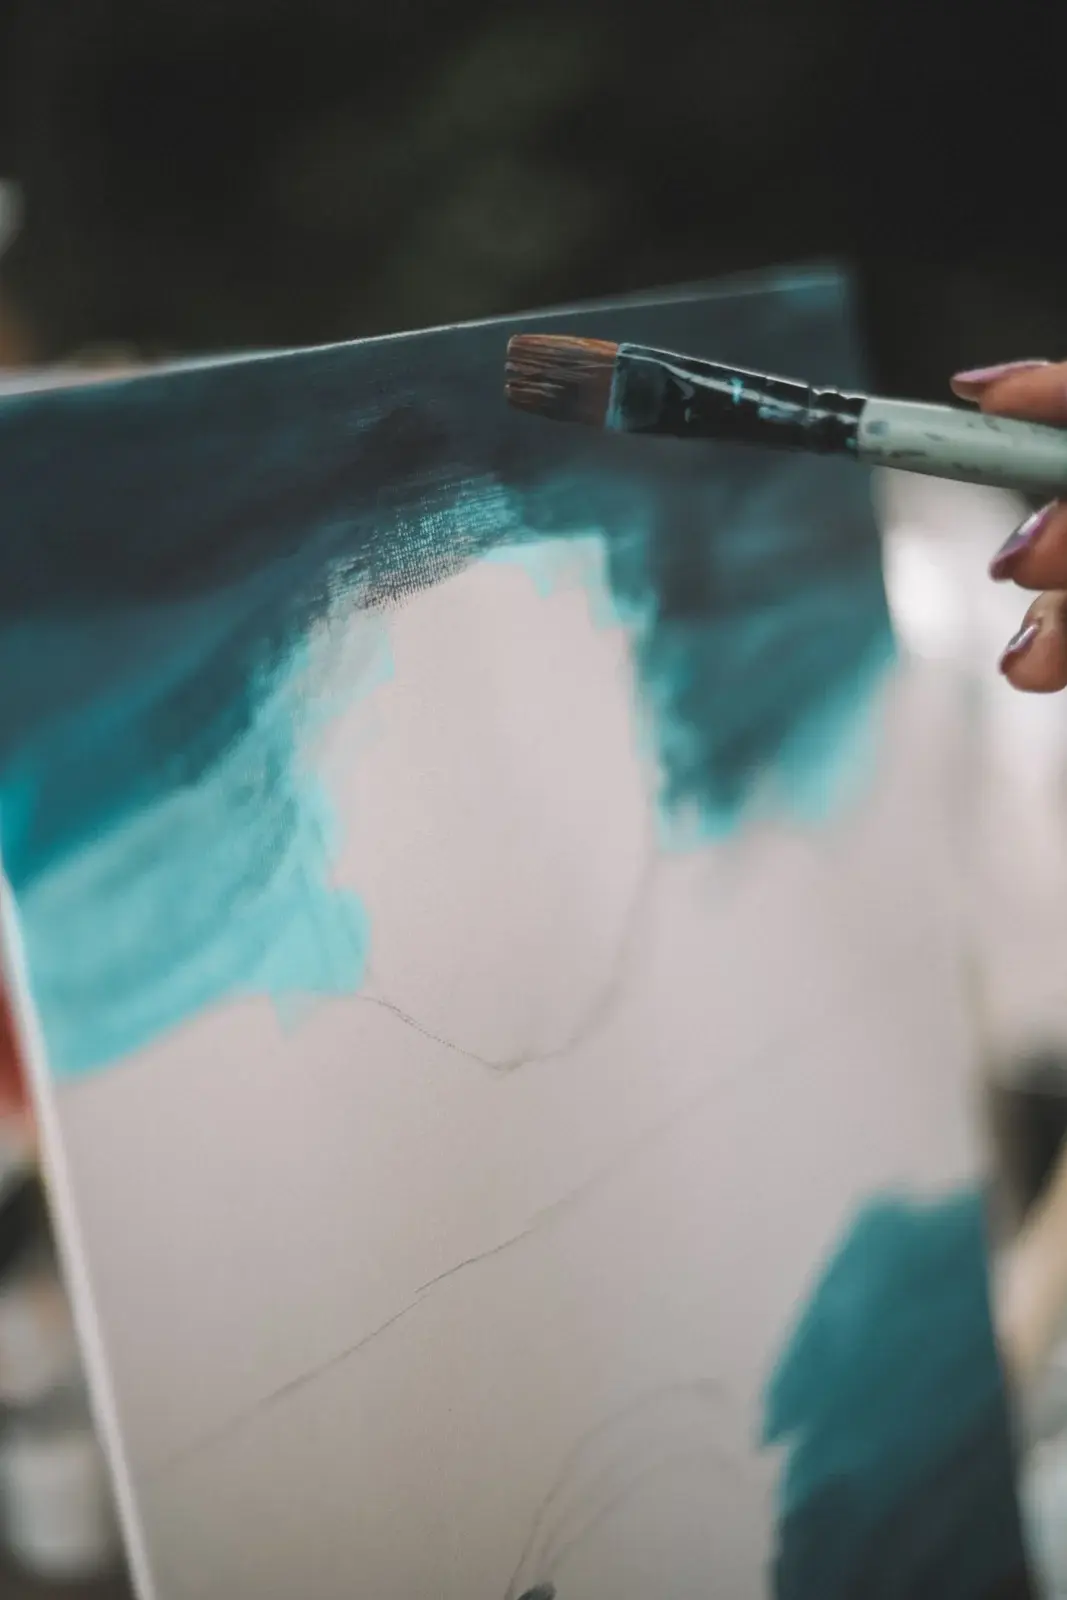
You load the brush, paint a beautiful blue sky, step back, and it’s full of stripes, thin patches and brush marks. Patchy coverage is one of the most common frustrations with acrylics, and it’s rarely about talent. It usually comes down to the paint, the surface or the timing. Here are the most common causes and how to fix each one.
1. The color is naturally transparent
Some pigments are transparent by nature. Phthalo blues and greens, quinacridone reds and magentas, and many yellows let the layer underneath show through, so a single coat looks streaky. Opaque pigments like titanium white, cadmiums and many earth colors cover far more easily.
Fix: check the opacity symbol on the label, add a touch of titanium white or an opaque color to the mix, or paint an opaque underlayer first. You can also build transparent colors in several thin layers, which can look beautifully rich.
2. You’re working the paint as it dries
Acrylics dry fast, especially in warm or dry rooms. If you keep brushing over an area that has started to set, the brush drags and lifts the half-dry paint, leaving streaks.
Fix: paint the area in confident strokes, then leave it alone. Let it dry completely, then add a second coat. Misting your palette, using a stay-wet palette, or adding a little retarder or slow-drying medium (following the brand’s instructions) gives you more working time.
3. Too much water
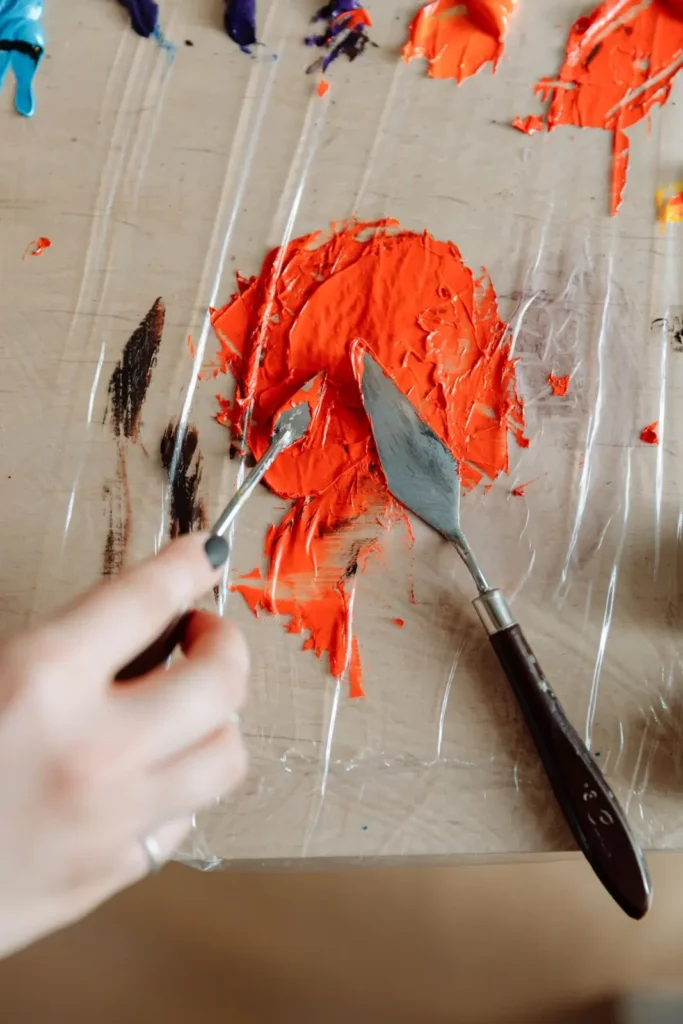
A little water helps paint flow. A lot of water thins the color and spreads out the binder, so the layer dries patchy and weaker. Many manufacturers suggest keeping water additions modest. Check your brand’s guidance.
Fix: to make paint more fluid without losing strength, use a fluid or flow medium instead of more water.
4. The surface is too absorbent
A rough or thinly primed canvas can soak up the first layer so quickly that it dries in streaks before you can even out the stroke.
Fix: add a coat or two of gesso first. Our gesso priming guide explains how. A thin first “sealer” layer of paint also helps the next coats glide.
5. Not enough paint on the brush
Dry-brushing is a lovely technique for texture, but not when you want flat coverage.
Fix: load more paint, use a bigger brush for big areas, and work in smaller sections so the edges stay wet.
6. Stroke direction is showing
Long, parallel strokes can leave visible ridges, especially with stiff brushes.
Fix: use a softer synthetic brush for smooth areas, and try crisscross strokes in short “X” shapes, or finish with very light strokes all in one direction. Our brush shapes guide explains which brushes leave the smoothest finish.
7. The color shifts as it dries
Many acrylics dry a little darker than they look wet. That can make a touched-up patch stand out from the area around it.
Fix: mix enough paint for the whole area at once, and test a swatch on scrap paper, letting it dry, before repainting a section.
8. The paint itself is weak
Lower-cost paints often have less pigment, so light colors in particular need extra coats. This isn’t a reason to give up on inexpensive paint, just something to plan for.
Fix: plan on two or three coats, or upgrade a few key tubes. See our student vs artist grade comparison for which tubes are worth upgrading first.
Quick troubleshooting checklist
- Is the color marked transparent or semi-transparent?
- Did I keep brushing after the paint started to set?
- Did I add a lot of water?
- Is the canvas soaking paint up very fast?
- Is my brush big enough and loaded with paint?
- Did I let the first coat dry fully before the second?
Most streaky first coats are fixed simply by letting them dry and adding another layer. If you’re picking a first project to practice even coverage, the bold shapes in our easy color study paintings are a good place to start.
A quick diagnostic order
- Is the pigment transparent? Check the tube icon or test a swatch over a dark mark.
- Is the paint over-thinned? If it beads or sinks into the weave like watercolor, reduce water.
- Is the surface too absorbent? Add a sealing gesso coat.
- Are you scrubbing a half-dry layer? Stop, let it dry, then apply a deliberate second coat.
- Is the brush overloaded or underloaded? Aim for even, creamy loads, not dripping soup or dry scrapes (unless dry-brush texture is the goal).
Layering strategy that reduces streaks
Think in thin, opaque or semi-opaque passes rather than one heavy rescue coat. Let each pass dry. Soften edges while the new pass is still open, then leave it alone. If you need a smoother sky, review wet-into-wet timing in the sunset blending guide.
Some colors (phthalo blue, quinacridones, many transparent reds) will look streaky until a second coat lands. That is pigment behavior, not a personal failure.
FAQ
Does retarder fix everything? It extends open time, which helps blending, but it will not fix an over-thinned wash or a thirsty canvas by itself.
Should I varnish to hide streaks? No. Varnish protects a finished paint film; it does not fill uneven coverage. Fix the paint layers first.
Session planning
Work in timed sessions. A thirty-minute block for blocking shapes and a later block for edges keeps decisions clearer than a single exhausted evening. Photograph the painting in daylight at the end of each session so you can judge values without wet-paint optimism.
Keep a paper towel diary swatch of key mixes with a one-line note (“crest turquoise”, “far hill”). Acrylic mix memory fades quickly once piles skin over.
Return to this guide after one practice canvas and note which step failed first: drawing, value, color, or edges. Fix that step on the next canvas instead of changing every variable at once.
Surface absorbency experiments
On a spare panel, gesso one half with an extra smooth coat and leave the other half as factory primer. Paint the same color mixture on both. Compare streaking. This single experiment teaches more about surfaces than a week of guessing.
If you love watercolor-like washes in acrylic, use acrylic inks or heavily fluid acrylics on properly sealed surfaces and accept transparency as a feature. Fighting transparent behavior while expecting house-paint opacity creates streak anxiety.
Putting it into a weekly practice
Choose one small canvas size and repeat the same exercise three times in one week rather than inventing a new subject every session. Repetition reveals which mistakes are habits. Keep notes on drying time in your room, which mixes skinned too fast, and which edges looked best in a daytime photo.
Share progress with yourself by lining up the three attempts side by side. The middle attempt is often where understanding appears: not yet polished, but clearer than the first. Use the third attempt to apply only one improvement goal, such as cleaner edges or better value range.
When a painting fails, scrape or gesso over it and reuse the panel for drills. Failure panels are cheaper teachers than unused premium canvases that intimidate you into stillness. Momentum matters more than preciousness while skills are forming.
Finally, connect technique pages to subject hubs so practice has a destination. A blending drill should lead to a finished small landscape; a dry-brush drill should lead to a small animal study. Technique without a next painting becomes abstract advice that evaporates.

Hi, I’m Camille. I write The Everyday Painter, where I share acrylic painting ideas, beginner guides and practical fixes for common painting problems. I love color, simple compositions and projects that fit into an ordinary evening.