

Walk into an art store and the brush wall is overwhelming. The good news is that most acrylic paintings, from simple sunsets to fluffy animals, use the same handful of shapes. Once you know what each one does, choosing brushes gets much easier and your strokes start to look intentional.
A quick word on bristles
For acrylics, synthetic brushes (nylon, taklon or synthetic blends) are the standard pick. They hold up to water, scrubbing and the fast-drying binder better than most natural hair. Softer synthetics are good for smooth blends and glazes. Stiffer ones, sometimes sold as “synthetic bristle” or “hog substitute”, are better for thick paint and visible texture.
The main brush shapes
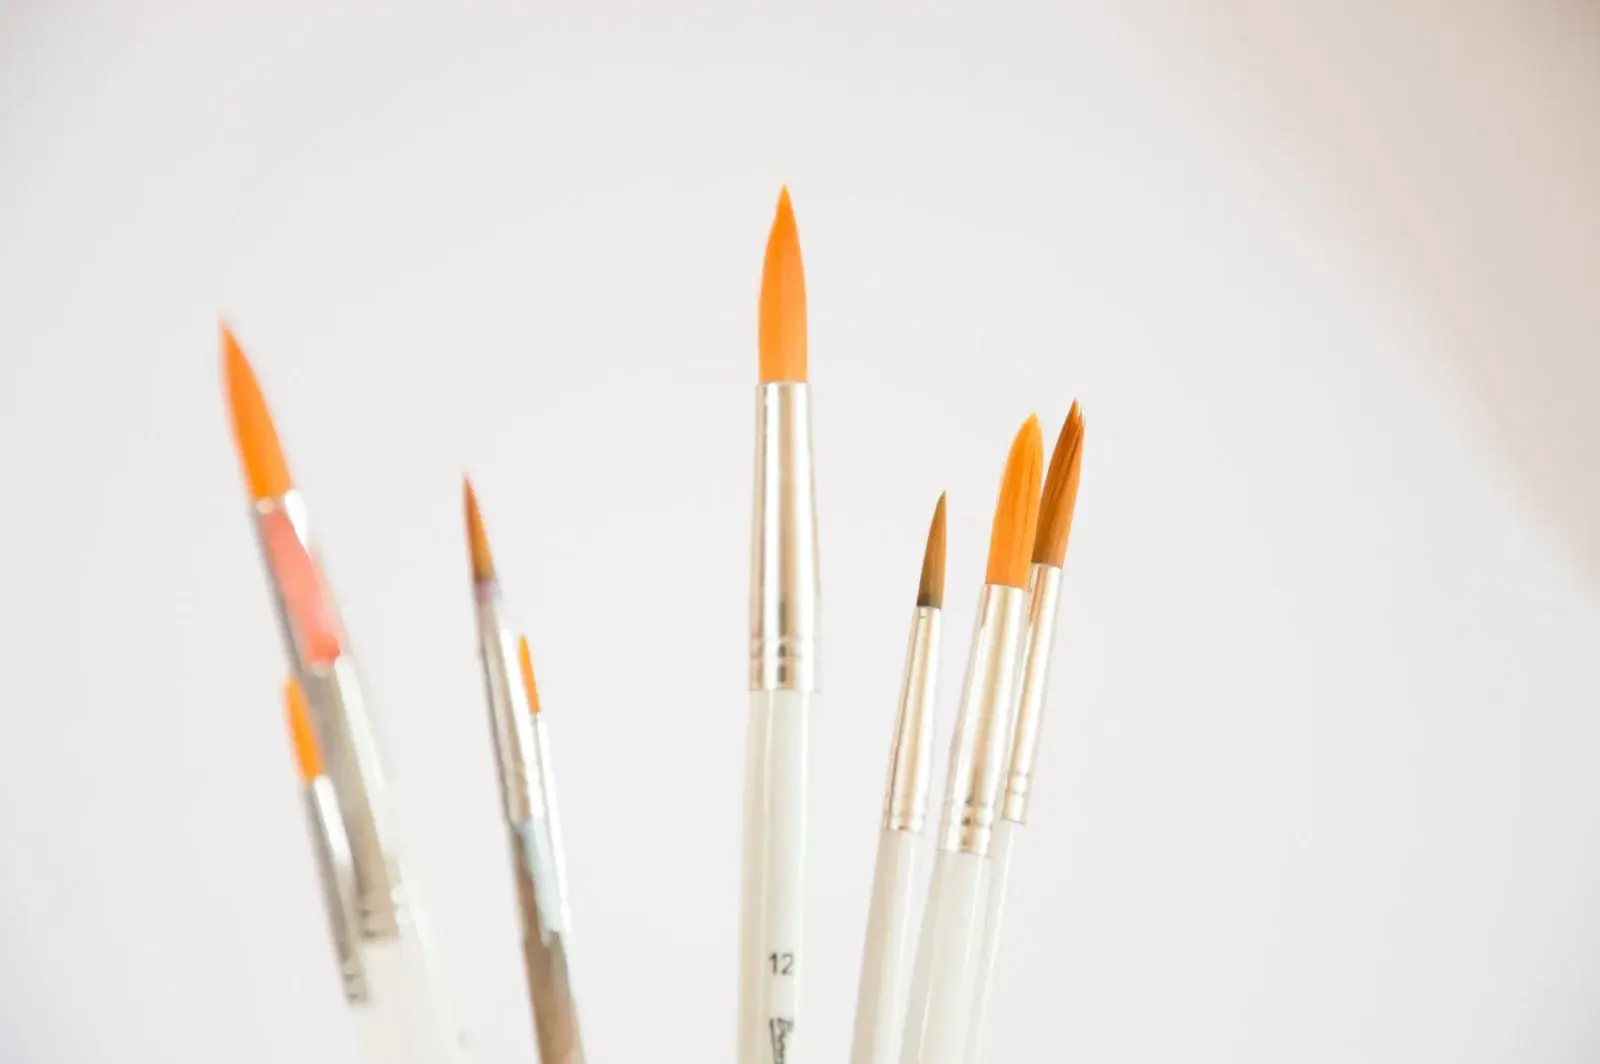
Flat
Square end with fairly long hairs. Great for backgrounds, skies, crisp edges and blocking in big shapes. Turn it on its edge for thin lines, like a horizon or the side of a building.
Bright
Like a flat but with shorter, stiffer hairs. It gives more control with thick paint and leaves visible, chunky strokes. Handy for impasto-style flowers or textured abstracts.
Round
A pointed tip on a round body. Press lightly for thin lines, press harder for a wider stroke. Rounds are the go-to for details, petals, grass blades and outlines.
Filbert
A flat brush with a rounded, oval tip. It sits between a flat and a round: it blends softly and makes natural, rounded shapes like petals, leaves, clouds and fur clumps. Many painters find it the most versatile single brush.
Angle (angular flat)
A flat cut at a slant. Useful for tight corners, curved strokes and painting along an edge in one pass.
Fan
Hairs spread in a fan shape. Mostly used for texture: foliage, grass, fur, and soft blending in skies. Use it lightly, since it’s easy to overdo.
Liner / rigger
Very long, thin hairs that hold a lot of fluid paint. Ideal for tree branches, whiskers, rigging on boats and lettering. Thin the paint with a little water so it flows.
Which brush for which job
| Task | Good brush |
|---|---|
| Smooth sky or background | Large flat or large soft filbert |
| Blending a sunset | Filbert or soft flat, kept damp |
| Clouds | Filbert, or a fan used lightly |
| Tree trunks and branches | Small flat, then a liner for twigs |
| Grass and foliage | Fan, or a worn round |
| Flower petals | Filbert or round |
| Animal eyes and highlights | Small round with a sharp point |
| Thick, textured strokes | Bright, or a palette knife |
About brush sizes
Sizes are numbers like 2, 6 or 12, but they aren’t consistent from brand to brand. A size 8 round from one company can be noticeably bigger than another’s. When shopping, look at the actual width, and pick sizes based on your canvas: on an 8×10 in canvas, a 1/2 to 1 inch flat is plenty for backgrounds.
Keeping brushes in good shape
- Don’t let acrylic dry in the bristles. Rinse often while you paint.
- Don’t leave brushes standing head-down in water. It bends the tips and can loosen the ferrule.
- Wash with mild soap at the end, reshape the tip, and dry them flat or tip-up.
- Keep one old brush for gesso, glitter or mediums so your good brushes stay soft.
Building a first kit? Our beginner supply guide lists four brushes that cover most projects. And if strokes look patchy no matter which brush you use, read why acrylic paintings look streaky.
Matching brush to job
| Task | Start with | Why |
|---|---|---|
| Sky and background blocks | Large flat | Covers area quickly with controllable edges |
| Blocking mid-size shapes | Medium flat or filbert | Balances coverage and curve |
| Petals and rounded forms | Round or filbert | Press-and-lift marks |
| Branches, whiskers, wires | Liner / rigger | Long thin lines with diluted paint |
| Grass, hair texture hints | Fan (dry) | Broken multiple marks |
| Sharp architectural edges | Bright or angle | Shorter flats steer corners |
Sizes vary by brand. Judge by ferrule width, not the printed number alone. Keep a cheap hog-bristle or stiff synthetic for scrubbing underpaintings, and keep softer synthetics for finishing passes.
Care that actually extends brush life
Do not let acrylic dry in the ferrule. Rinse as soon as a passage is done, then wash with brush soap or mild soap, reshaping the tip before drying. Store brushes upright or flat once dry — never resting on the bristles in a jar of water for hours. Water-logged ferrules loosen glue and permanently flare tips.
If a tip is only slightly splayed, condition with soap into a point and let it dry in shape. If the tip is permanently hooked, retire it to texture duty and replace it. Fighting a bad brush teaches frustration, not skill.
Buying advice
Buy the four shapes in the supplies checklist before collecting novelty brushes. A dagger, mottler or specialty sword brush can wait. When a brush repeatedly sheds hairs into wet paint, stop using it on finished passages.
Session planning
Work in timed sessions. A thirty-minute block for blocking shapes and a later block for edges keeps decisions clearer than a single exhausted evening. Photograph the painting in daylight at the end of each session so you can judge values without wet-paint optimism.
Keep a paper towel diary swatch of key mixes with a one-line note (“crest turquoise”, “far hill”). Acrylic mix memory fades quickly once piles skin over.
Return to this guide after one practice canvas and note which step failed first: drawing, value, color, or edges. Fix that step on the next canvas instead of changing every variable at once.
Common brush myths
Myth: more brushes equal better paintings. Reality: clean, appropriate brushes equal better paintings. Myth: expensive brushes magically create soft blends. Reality: timing and paint consistency create soft blends; brushes only assist. Myth: once a brush sheds, all brushes from that brand are useless. Reality: inspect quality control per brush and return defects when possible.
Build a maintenance ritual at the end of every session: rinse, soap, reshape, dry. Future you will thank present you when the filbert still points next month.
Putting it into a weekly practice
Choose one small canvas size and repeat the same exercise three times in one week rather than inventing a new subject every session. Repetition reveals which mistakes are habits. Keep notes on drying time in your room, which mixes skinned too fast, and which edges looked best in a daytime photo.
Share progress with yourself by lining up the three attempts side by side. The middle attempt is often where understanding appears: not yet polished, but clearer than the first. Use the third attempt to apply only one improvement goal, such as cleaner edges or better value range.
When a painting fails, scrape or gesso over it and reuse the panel for drills. Failure panels are cheaper teachers than unused premium canvases that intimidate you into stillness. Momentum matters more than preciousness while skills are forming.
Finally, connect technique pages to subject hubs so practice has a destination. A blending drill should lead to a finished small landscape; a dry-brush drill should lead to a small animal study. Technique without a next painting becomes abstract advice that evaporates.
Replacing brushes at the right time
Retire a brush from primary duty when it cannot hold an edge you need, sheds repeatedly into finished passages, or has a permanently bent tip. Demoted brushes can still scumble textures or mix paint. Throwing them out immediately is optional; misusing them on delicate highlights is not.
When buying replacements, match the job: a soft synthetic round for petals, a firmer flat for blocks. Do not replace a ruined liner with another huge flat and hope. Keep a written mini inventory taped inside the paint box lid listing your four core brushes and sizes.
\nStudio habits for brush control
Set a single measurable goal before each session, such as “softer joins,” “stronger darks,” or “fewer corrective scrubs.” Goals that try to fix everything produce scattered attention. Write the goal on painter tape at the easel edge.
Use inexpensive panels for drills and reserve better canvases for attempts that apply a drill successfully. This separation reduces fear and increases reps. Track reps with hash marks on a calendar; skill in acrylic handling is closer to deliberate practice than to inspiration hunting.
When stuck, copy a five-minute passage from a teaching video onto scrap without aiming for a finished painting. The point is motor learning: brush angle, load, and timing. Then return to your own composition and apply only that motion.
End sessions by noting one keep and one change. Keep notes short. Over time the notebook becomes a personal troubleshooting index more useful than generic tips, because it reflects your room, paints and habits.
Revisit this guide after three practice pieces. If the same failure repeats, change only the related step in the workflow rather than abandoning the subject. Persistence with targeted adjustment beats constant subject hopping.
\n
Hi, I’m Camille. I write The Everyday Painter, where I share acrylic painting ideas, beginner guides and practical fixes for common painting problems. I love color, simple compositions and projects that fit into an ordinary evening.