
Key Takeaways
- Understanding Non-Stick Coating: Familiarize yourself with non-stick materials like PTFE and ceramic to prevent damage during use and cleaning.
- Common Causes of Burns: Recognize that high heat cooking, improper utensils, and unattended food are key contributors to burnt non-stick pans.
- Effective Cleaning Methods: Utilize baking soda paste, dish soap soaks, and vinegar solutions to restore burnt non-stick pans without damaging the coating.
- Preventive Maintenance: Employ low to medium heat, use silicone or wooden utensils, and clean the pan after each use to extend its lifespan and prevent burns.
- Proper Storage: Avoid scratches by using pan protectors and soft materials when stacking non-stick cookware.
Ever burned a meal and ended up with a non-stick pan that looks like it’s seen better days? You’re not alone. It happens to the best of us, and that charred mess can feel impossible to tackle. But don’t worry, you can bring that pan back to life without too much hassle.
Understanding Non-Stick Burnt Pans
Non-stick pans offer convenience, but they can suffer from burns that compromise their surface. Understanding the nature of these pans helps you clean and maintain them effectively.
Recommended Products

POWERFUL DIRT DISINTEGRATION-Black Cleaning Film for Pot Bottom - Pan bottom cleaner effectively targets tough black stains and grease, restoring your cookware to a clean
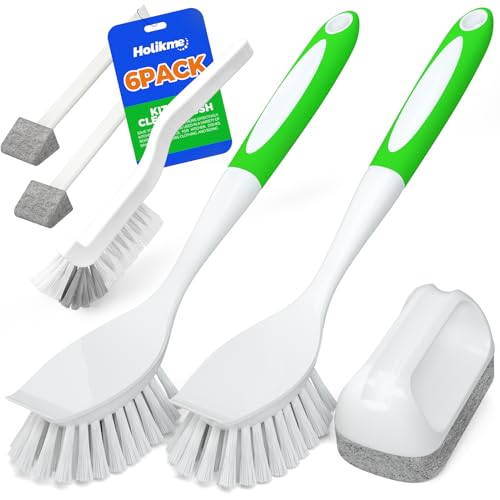
【All-in-One Kit】Tired of a cluttered drawer full of single-purpose tools that never seem to be the right one when needed? You grab a greasy baking tray, but your sponge just smears the oil around, and your cloth gets stuck on burnt edges—nothing works. Our 6-Piece Dish Brush Set covers every cleaning need in one go. From dirty dishes and crusty pans to the kitchen sink and countertops, this all-in-one cleaning brush collection gives you everything with one purchase—solve all your home cleaning challenges with a single, cost-effective kitchen brush solution that actually cleans.

Non-Stick Coating
Non-stick coatings, often made of polytetrafluoroethylene (PTFE) or ceramic, reduce food sticking. Heat damage occurs when food overheats, leading to burned residue. Residue not only makes cooking difficult but also poses a risk of flaking from the coating.
Causes of Burns
Burned food can occur for several reasons:
- High Heat: Excessive temperatures can cause food to scorch.
- Timing: Leaving food unattended increases chances of burning.
- Incorrect Utensils: Using metal utensils can scratch the surface, leading to damage.
Recognizing Damage
To identify if a non-stick pan has been burned, look for:
- Discoloration: Darkened areas indicate heat exposure.
- Texture Changes: A rough or damaged surface suggests that the coating has deteriorated.
Maintenance Tips
Proper maintenance prevents future burns and extends a pan’s lifespan:
- Use Low to Medium Heat: Avoid high temperatures when cooking.
- Utilize Silicone or Wooden Utensils: Protect the coating from scratches.
- Clean After Each Use: Regular cleaning prevents residue buildup.
Cleaning Techniques
When encountering a burnt non-stick pan, clean it with one of these methods:
- Baking Soda Paste: Combine equal parts baking soda and water. Apply the paste to the burned areas, let it sit for 15-30 minutes, and scrub with a soft sponge.
- Dish Soap Soak: Fill the pan with warm water, add dish detergent, and let it soak for 30 minutes. This helps loosen the burnt food.
- Vinegar and Water: Mix equal parts vinegar and water. Boil the solution in the pan for 10 minutes to lift hardened debris.
By understanding the factors that lead to burnt non-stick pans, you can take steps to clean and maintain them effectively.
Common Causes of Burnt Non-Stick Pans
Burnt non-stick pans often result from specific cooking habits or choices. Understanding these causes helps you avoid damage in the future.
Recommended Products
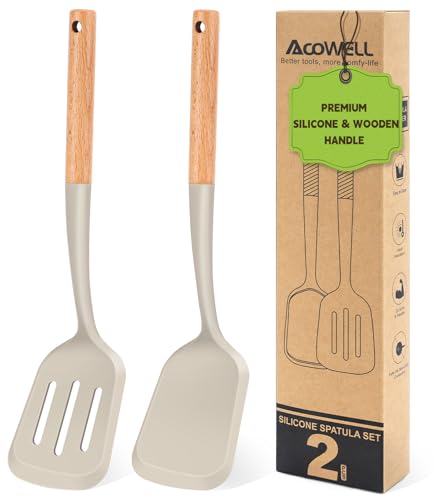
【Versatile 2-piece Kitchen Utensils】Our spatula set includes one slotted and one solid spatula for kitchen use - sautéing, frying, turning and flipping. Superior silicone head keeps the flex and without scratching to your delicate non-stick cookware
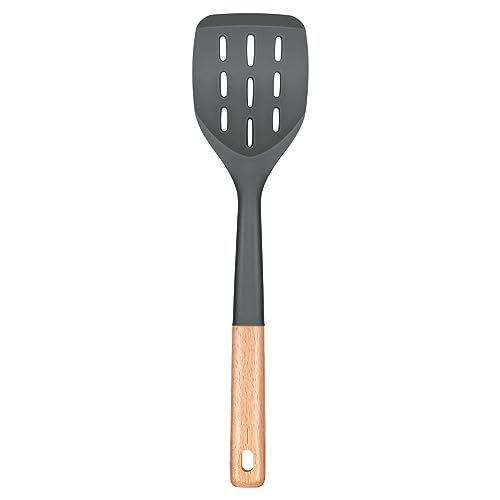
Large Turner: The large turner surface allows for easy food preparation and serving. The turner head measures 8. 8 inches long x 3. 3 inches wide

Large Turner: The large turner surface allows for easy food preparation and serving. The turner head measures 8.8 inches long x 3. 3 inches wide
High Heat Cooking
High heat cooking is a primary cause of burnt non-stick pans. Non-stick coatings function best at low to medium temperatures. When you use high heat, it can lead to overheating, which damages the surface and reduces its effectiveness. For instance, cooking eggs on high heat can cause sticking and burning. Use medium heat for sautéing or browning food. Adjust the burner settings as needed to prevent overheating and maintain the pan’s finish.
Improper Use of Utensils
Improper use of utensils contributes significantly to the wear and tear of non-stick pans. Metal utensils can scratch the coating, allowing food to stick and burn. Using silicone or wooden utensils helps protect the surface. For example, flipping pancakes with a metal spatula can damage the coating, leading to burns. Always opt for gentler utensils to extend the life of your non-stick cookware.
Effective Methods for Cleaning Non-Stick Burnt Pans
Cleaning a burnt non-stick pan is simpler than it seems. Several effective methods can help you restore your cookware without damaging its surface.
Recommended Products

22 PIECES ALL-IN-ONE BAKEWARE SETS: Enjoy versatile baking with this complete baking pans set non stick includes a large roasting pan, a large cookie sheet, a medium baking sheet pan with a cooling rack, a square cake pan, a loaf pan, 2 round cake pans, a 12-cup muffin pan with 12 silicone cupcake liners, and 24-cup mini muffin pan. Perfect for baking cakes, cookies, muffins or roasting meats and vegetables. This baking kit covers all your baking needs!

ALL EXCLUSIVE SET - This oven tray is 9.7x7.5 inch cookie sheet,inner sizes:9x6.5x1.5 inches, outer sizes:9.7 x 7.5x 1.5 inches. This is a perfect size for baking cookies, pastry, cinnamon rolls, jelly rolls, mini cakes, vegetables, etc. Just one set can easily satisfy your daily baking needs and help you take your baking to the next level.

HEALTHY FOOD-GRADE STAINLESS STEEL: Made of 100% stainless steel that is safe for high-heat oven baking, No toxic or chemicals substance leaching into your cake, Mirror-polished surface enhances rust resistance and ensure durability, A Healthier alternative to aluminum/silicone baking pans
Baking Soda and Vinegar Method
- Make a paste: Combine equal parts baking soda and water in a bowl until you achieve a paste-like consistency.
- Apply the paste: Spread the mixture evenly over the burnt areas of the pan.
- Add vinegar: Pour a small amount of vinegar over the paste. You’ll see fizzing, which helps lift the burnt residue.
- Let it sit: Allow the mixture to sit for 15-30 minutes.
- Scrub gently: Use a non-abrasive sponge to scrub the pan. Rinse with warm water afterward.
Dish Soap and Water Soak
- Fill the sink: Submerge the pan in a basin or sink filled with warm, soapy water. Use a few drops of dish soap.
- Let it soak: Allow the pan to soak for at least 30 minutes. This will help loosen the burnt food particles.
- Wipe clean: After soaking, use a sponge or soft cloth to wipe the surface clean. Avoid metal sponges to prevent scratching the coating.
- Rinse thoroughly: Rinse the pan with clean water to remove any soap residue.
Commercial Cleaners
- Choose the right cleaner: Look for non-abrasive, non-toxic commercial cleaners specifically designed for non-stick surfaces.
- Follow instructions: Read and follow the manufacturer’s instructions carefully for best results.
- Apply the cleaner: Spray or apply the cleaner directly onto the burnt areas of the pan.
- Let it work: Allow it to sit for the recommended time to dissolve residue.
- Wipe and rinse: Use a soft cloth or sponge to wipe away the cleaner and residue. Rinse well with warm water.
Utilizing these methods helps maintain the integrity of your non-stick cookware while effectively removing burnt food residues.
Tips for Preventing Future Burns
- Use Low to Medium Heat
Cook on low to medium heat. High temperatures can damage the non-stick coating over time.
- Choose the Right Utensils
Opt for silicone or wooden utensils. These materials minimize scratches and protect the pan’s surface.
- Stay Close While Cooking
Keep an eye on your food. Leaving food unattended can lead to sticking or burning.
- Preheat Only When Necessary
Avoid preheating empty pans. This practice can lead to overheating and damage.
- Add Oil or Butter
Use a small amount of oil or butter, especially for proteins and starches. This extra layer helps prevent sticking.
- Avoid Cooking Sprays
Steer clear of aerosol cooking sprays. They can leave residue that builds up over time, affecting the non-stick surface.
- Clean After Each Use
Wash the pan promptly after cooking. Clean food particles reduce the risk of future burns and maintain the pan’s integrity.
- Store Properly
Use pan protectors or store them stacked with soft materials. This prevents scratches while in storage.
By integrating these tips into your cooking routine, you’ll keep your non-stick pans in great shape and avoid frustrating burns.
Conclusion
Cleaning a burnt non-stick pan doesn’t have to be a daunting task. With a few simple methods and some patience you can restore your pan to its former glory. Remember to use gentle cleaning techniques and avoid harsh scrubbing that can damage the coating.
Keeping your pan in good shape is all about prevention. By cooking on low to medium heat and using the right utensils you’ll minimize the chances of burns happening in the first place.
With these tips in mind you can enjoy cooking without the worry of burnt pans. Happy cooking!
Frequently Asked Questions
What causes burns on non-stick pans?
Burns on non-stick pans are typically caused by cooking at high temperatures, leaving food unattended, or using metal utensils. Non-stick coatings perform best at low to medium heat, so excessive heat can damage the surface and lead to burns.
How can I tell if my non-stick pan is damaged?
Signs of damage on a non-stick pan include discoloration, peeling, or an altered texture. If you notice these changes, it may indicate that the coating has been compromised, affecting the pan’s non-stick properties.
What is the best way to clean burnt non-stick pans?
To clean burnt non-stick pans, you can create a baking soda paste, soak the pan in dish soap, or use a mixture of vinegar and water. Apply the paste or solution to the burnt areas, let it sit, and scrub gently with a non-abrasive sponge.
Can burnt non-stick pans be restored?
Yes, burnt non-stick pans can often be restored using proper cleaning methods such as baking soda paste or soaking in dish soap. These techniques can remove burnt residues and help salvage the pan’s non-stick surface.
How can I prevent future burns on my non-stick pans?
Prevent future burns by cooking on low to medium heat, using silicone or wooden utensils, and staying close to the stove. Additionally, avoid preheating empty pans and use a bit of oil or butter to aid in non-stick performance.
Is it safe to use a damaged non-stick pan?
Using a damaged non-stick pan is not recommended. If the coating is peeling or scratched, it may release harmful particles into food. It’s best to discontinue use of the pan and consider replacing it for safe cooking.

