
Have you ever wondered why your Bissell bagless vacuum isn’t picking up dirt like it used to? It’s frustrating when your trusty cleaner doesn’t perform as expected, especially after a long day of tidying up. Regular maintenance is key to keeping it in top shape, and cleaning it is easier than you might think.
Key Takeaways
- Understand Your Vacuum: Familiarize yourself with the key features of your Bissell bagless vacuum, including cyclonic technology and reusable filters, to optimize performance.
- Regular Maintenance: Establish a cleaning routine for your vacuum, focusing on emptying the dust container after each use and cleaning the filters monthly.
- Step-by-Step Cleaning Process: Follow the detailed steps for disassembling, cleaning, and reassembling your vacuum to ensure thorough maintenance.
- Address Common Issues Promptly: Monitor for loss of suction or unusual noises and conduct regular inspections to prevent further damage.
- Eco-Friendly and Cost-Effective: Enjoy the benefits of a bagless vacuum, including reduced waste and savings on replacement bags while maintaining convenience in cleaning.
- Performance Optimization: Consistently clean and maintain your Bissell vacuum to enhance its effectiveness and extend its lifespan.
Understanding Your Bissell Bagless Vacuum
You rely on your Bissell bagless vacuum for effective cleaning, so understanding its features and benefits is essential. This knowledge helps you maintain it better and optimize its performance.
Recommended Products

VALUABLE PACKAGE - Contains 4 Pack premium quality 2191 foam filters ,you can replace your Bissell and Eureka at once when your old filter get dirty, buy with confidence.please confirm your Vacuum model
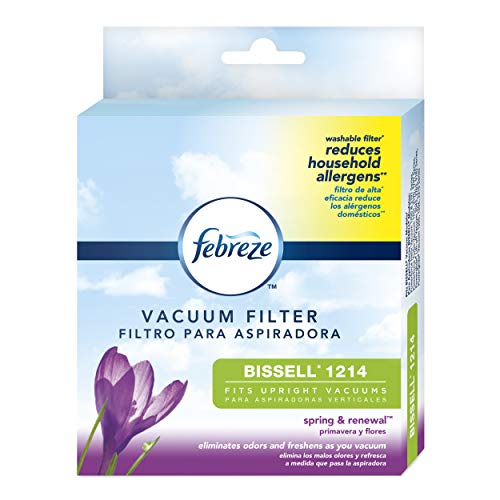
Washable filter helps reduce household allergens such as tree, grass, and ragweed pollens.

Compatible with bissell rewind cleanview pet -18m9w, 18m9x. Replace part 203-7913
Key Features of Bagless Vacuums
- Transparent Dust Bin: You can see when the dust bin is full, making it easy to know when to empty it.
- Cyclonic Technology: This feature separates dirt and debris from the air, ensuring stronger suction.
- Reusable Filter: The filters are washable and designed to last, reducing the need for constant replacements.
- Lightweight Design: Bagless vacuums are often lighter, making them easy to maneuver around your home.
- Cost-Effective: You save money by eliminating the need for replacement bags.
- Convenience: Emptying the dust bin is quick and mess-free, providing a hassle-free experience.
- Eco-Friendly: With fewer materials needed for bags, bagless vacuums contribute to less waste.
- Flexible Usage: Bagless vacuums often come with various attachments, enhancing their versatility for different cleaning tasks.
Step-by-Step Guide on How to Clean a Bissell Bagless Vacuum
Cleaning your Bissell bagless vacuum keeps it effective and prolongs its lifespan. Follow these simple steps for a thorough cleaning process.
Preparing for the Cleaning Process
Gather your cleaning supplies. You’ll need warm water, mild detergent, a soft cloth, and possibly a brush. Unplug the vacuum to ensure safety during cleaning. Take note of any specific manufacturer guidelines for your model.
Disassembling the Vacuum
Start disassembling your vacuum. Remove the dust container by pressing the release button or lever. Take off any attachments like the hose and brush. Check the manufacturer’s instructions to ensure correct removal of components.
Cleaning the Dust Container
Empty the dust container over a trash can. Tap it gently to dislodge any stuck debris. Rinse the container with warm water, adding a small amount of mild detergent. Scrub any tough spots with a soft cloth or brush. Allow the container to air dry completely before reassembling.
Washing the Filters
Remove the filters from your vacuum. Most Bissell models have a foam or cyclone filter. Rinse these filters under warm water until the water runs clear. If the filter is dirty, use a soft brush to remove dirt. Let the filters dry for at least 24 hours before reinserting them into the vacuum.
Reassembling the Vacuum
Once everything is completely dry, begin reassembling your vacuum. Attach the filters back into their designated slots. Reattach the dust container and any other components you removed. Ensure everything clicks into place snugly, then plug in the vacuum and check its functionality.
Following these steps ensures your Bissell bagless vacuum performs efficiently, making it ready for your next cleaning task.
Maintenance Tips for Longevity
Regular maintenance keeps your Bissell bagless vacuum functioning at its best. Following a few simple practices can prolong its life and enhance performance.
Recommended Products

Vacuum Filter Compatible With Amazon Basics Upright Bagless Vacuum Cleaner

【COMPATIBLE MODELS】 -- The 6 PACK Vacuum Cleaner filter replacement set is 𝐎𝐍𝐋𝐘 𝐜𝐨𝐦𝐩𝐚𝐭𝐢𝐛𝐥𝐞 𝐰𝐢𝐭𝐡 𝐁𝐢𝐬𝐬𝐞𝐥𝐥 𝐌𝐨𝐝𝐞𝐥 𝟐𝟎𝟑𝟑 𝐒𝐞𝐫𝐢𝐞𝐬, fit for Bissell Featherweight Stick Lightweight Bagless Vacuum 2033, 20331, 20333, 20334, 20336, 20339, 2033M . Replace Part No. 1611508.
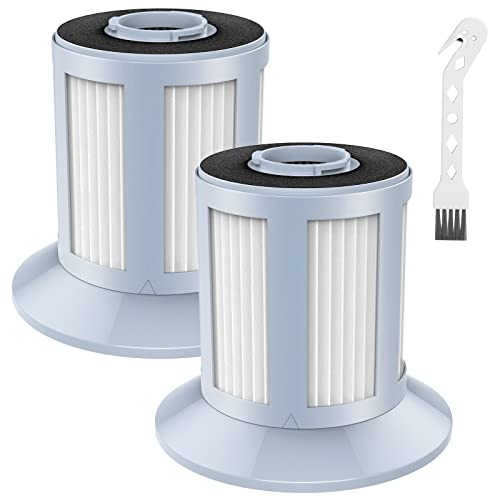
Compatible Model: This replacement vacuum filter is compatible with Bissell Zing Bagless Canister Vacuum series 2156, 2156A, 2156E, 1665, 16652, and 1665W, replacement part number 161-3056, 1613056. Does NOT compatible with bissell vacuum part number 203-1531, 203-1532, 203-1771,1608602
Regular Cleaning Schedule
Establish a cleaning routine to maintain your vacuum. Aim to clean the dust container after every use, especially if you’ve tackled heavy debris. Schedule thorough cleaning of the filters every month. A clean filter maximizes airflow and suction. Set reminders on your phone or use a calendar to help you stay on track.
Addressing Common Issues
Address common vacuum problems promptly to prevent further damage.
- Loss of Suction: Check the dust container for clogs. Empty it if full. Inspect the filters for dirt and clean them if necessary.
- Unusual Noises: Listen for strange sounds that could indicate a blockage or a worn belt. Turn off the vacuum and inspect the brush roll and belt area.
- Brush Roll Not Spinning: Ensure nothing is tangled in the brush roll. Remove any threads or hair that may hinder movement.
- Odor: If your vacuum emits an unpleasant smell, check for food particles in the dust container. Clean it thoroughly to eliminate odors.
Taking proactive measures helps extend the life of your vacuum while ensuring optimal performance.
Conclusion
Taking the time to clean your Bissell bagless vacuum can make a world of difference in its performance and longevity. By following the steps outlined and sticking to a regular maintenance schedule you’ll keep your vacuum running smoothly.
Don’t forget to pay attention to common issues that might arise. A little proactive care goes a long way in ensuring your vacuum stays efficient and reliable.
So grab those cleaning supplies and give your vacuum the care it deserves. Your home will thank you for it!
Frequently Asked Questions
Why is regular maintenance important for Bissell bagless vacuums?
Regular maintenance keeps your Bissell bagless vacuum performing at its best. It prevents issues like loss of suction and extends the life of the machine by ensuring all components, especially filters and brushes, are clean and working efficiently.
How do I clean the dust container of my vacuum?
To clean the dust container, first, disassemble the vacuum. Remove the dust bin and empty the contents. Rinse the bin with water, ensuring all dirt is removed. Allow it to dry completely before reattaching it to the vacuum.
What should I do if my vacuum loses suction?
If your vacuum loses suction, first check for blockages in the hoses and filters. Clean or replace filters as necessary, and ensure the dust bin is not full. If the problem persists, inspect the brush roll for debris.
How often should I wash the filters?
You should wash the filters of your Bissell bagless vacuum every 1 to 2 months, depending on usage. Regular cleaning helps maintain suction power and ensures the vacuum operates efficiently. Always refer to the manufacturer’s recommendations.
What are common issues with bagless vacuums?
Common issues with bagless vacuums include loss of suction, strange noises, the brush roll not spinning, and unpleasant odors. Addressing these issues promptly through regular maintenance can help prolong the vacuum’s lifespan.
How can I prolong the life of my vacuum?
To extend the life of your vacuum, establish a regular cleaning schedule, clean filters often, and check for blockages. Additionally, store the vacuum in a dry place and avoid vacuuming large debris that could damage the machine.
