
Ever found yourself in the middle of a cleaning session only to realize your vacuum cleaner bag is full? It’s frustrating, but don’t worry; changing the bag is easier than you might think. Whether you’re dealing with a canister or an upright vacuum, knowing how to swap out that bag can save you time and keep your home clean.
Key Takeaways
- Types of Vacuum Bags: Familiarize yourself with different bag types—paper, cloth, HEPA, and pre-motor filters—to choose what best fits your needs.
- Regular Bag Changes: Changing your vacuum bag regularly enhances suction power, prevents overheating, and improves overall air quality in your home.
- Essential Tools: Gather necessary tools like replacement bags, screwdrivers, cleaning cloths, scissors, and gloves to facilitate the bag-changing process.
- Step-by-Step Process: Follow simple steps for changing the bag: unplug the vacuum, remove the old bag, clean the compartment, and securely install the new bag.
- Maintenance Practices: Implement best practices such as checking the bag weekly, using high-quality bags, and sealing used bags properly to maintain vacuum performance.
- Signs of a Full Bag: Be alert for signs like reduced suction, unusual noises, visible dust leaks, and overheating, which indicate it’s time to check or change the bag.
Understanding Vacuum Cleaner Bags
Vacuum cleaner bags play a crucial role in maintaining your vacuum’s performance. Knowing the different types and the importance of changing them regularly helps you keep your home clean and your vacuum running efficiently.
Types of Vacuum Cleaner Bags
- Paper Bags
Paper bags work well for standard dust and debris. They’re disposable and often the most affordable option. - Cloth Bags
Cloth bags are reusable and can be washed. These bags tend to be more durable and eco-friendly. - HEPA Bags
HEPA bags filter out small particles, making them ideal for allergy sufferers. These bags capture allergens and improve air quality. - Pre-Motor Filters
Some vacuum cleaners use pre-motor filters instead of bags. These filters require regular cleaning or replacement to maintain performance.
Importance of Changing Bags Regularly
Changing your vacuum cleaner bag regularly boosts suction power and performance. A full bag clogs airflow, making your vacuum less effective. Aim to check the bag once a month, or sooner if you notice reduced performance.
- Prevents Overheating
A full bag can cause the motor to overheat. This leads to potential damage and costly repairs. - Improves Air Quality
Regularly changing bags reduces dust and allergens in your home, promoting a healthier living environment. - Enhances Efficiency
A clean bag improves overall vacuum efficiency. You’ll pick up dirt and debris more effectively, making cleaning quicker and easier.
Remember, maintaining your vacuum cleaner through regular bag changes significantly contributes to its lifespan and your home’s cleanliness.
Tools You Will Need
Changing the bag in your vacuum cleaner is straightforward, and having the right tools makes it even easier. Here’s a list of essential tools to help with the process.
Recommended Products
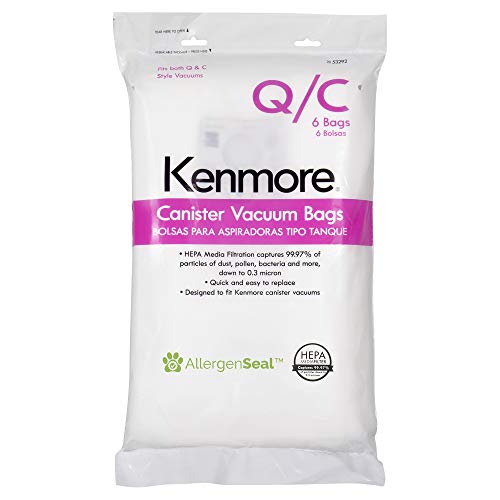
COMPATIBLE WITH: Kenmore canister vacuum cleaners that use type Q replacement bags (Models: 21514, 21614, 21714, 21814, 29219, 29229, 29319, 81214, 81414, 81614, 81615, 81714, BC3002, BC3005, BC3006, BC4002, BC4026, BC4027, BC4039, BC4040, BC7005)
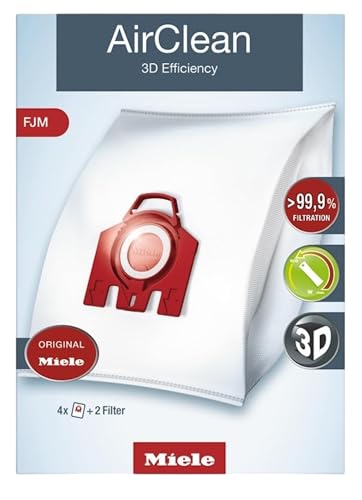
Genuine Miele AirClean branded FilterBags are recommended with Miele Vacuum Cleaners; off-brand bags and filters may cause damage to the machine and significantly limit performance

Essential Tools for the Job
- Replacement Vacuum Bag: Make sure to get the correct type for your vacuum model.
- Screwdriver: A flathead or Philips screwdriver may be needed to open the vacuum housing.
- Cleaning Cloth: Use this to remove dust and debris from the vacuum’s interior.
- Scissors: For cutting any tape or packaging, if necessary.
- Gloves: Protect your hands from dirt and allergens while changing the bag.
- Unplug the Vacuum: Always disconnect the vacuum from the power source before starting.
- Check for Damage: Inspect the vacuum for any signs of wear or damage before use.
- Wear a Mask: Consider using a mask if you’re sensitive to dust or allergens.
- Handle Dirt Bags Carefully: Dispose of the full bag properly to prevent spills and exposure to allergens.
- Use Appropriate Tools: Ensure tools are in good condition to avoid accidents.
Step-by-Step Guide on How to Change Bag in Vacuum Cleaner
Changing the bag in your vacuum cleaner is a straightforward process. Follow these simple steps to keep your vacuum running efficiently.
Recommended Products
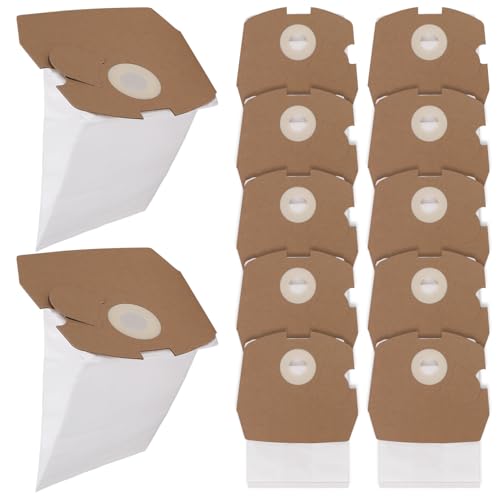
Compatible Models: Vacuum bags are compatible with Clean Obsessed CO711 & Perfect C105 Commercial Canister Vacuum,Part # CO711BG, VAC4
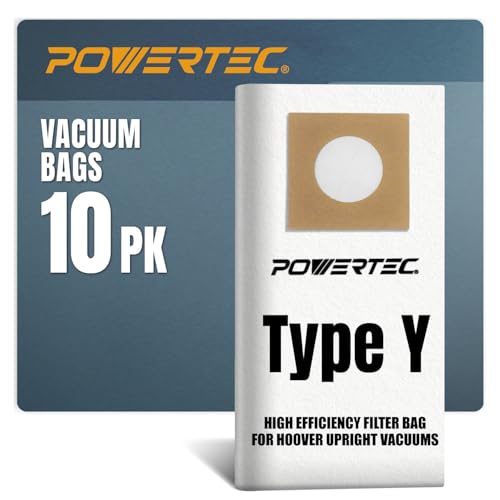
【INCLUDES】: (10) Replacement bags that compatible with Hoover YZ Vacuum Cleaner Bags

Only Genuine Miele branded vacuum bags are recommended with Miele Vacuum Cleaners; off-brand bags and filters may cause damage to the machine and significantly limit performance
Preparing Your Vacuum Cleaner
- Unplug the vacuum cleaner to ensure safety.
- Gather your tools: a replacement bag, screwdriver, cleaning cloth, scissors, and gloves.
- Place the vacuum on a flat surface for easier access.
- Wear gloves and a mask to protect yourself from dust and debris.
Removing the Old Bag
- Locate the bag compartment, usually at the back or bottom of the vacuum.
- Depending on your model, either unclip or unscrew the compartment cover.
- Carefully pull out the old bag; some bags may be sealed. Cut the seal if necessary.
- Dispose of the old bag in a sealed trash bag to prevent dust from escaping.
- Clean the bag compartment with a cloth to remove any dirt or debris.
Installing the New Bag
- Take out the new bag from its packaging.
- Align the bag with the bag compartment openings. Ensure it fits securely in place.
- If the bag has a latch or clip, ensure it’s properly fastened to prevent leaks.
- Close the compartment cover, securing it with clips or screws as needed.
- Double-check that everything is sealed tightly.
- Plug the vacuum cleaner back in.
- Turn on the vacuum and run it for a minute.
- Listen for any unusual sounds, and check for proper suction.
- Inspect the bag compartment to ensure no air leaks occur.
- If everything looks good, you’re ready to clean!
Following these steps keeps your vacuum in top shape, maximizing its efficiency and longevity.
Tips for Maintaining Your Vacuum Cleaner
Maintaining your vacuum cleaner ensures optimal performance and prolongs its lifespan. Regular upkeep can greatly improve efficiency and cleanliness.
Best Practices for Bag Maintenance
- Check the Bag Weekly: Inspect the vacuum bag every week. A quick check ensures you catch issues early.
- Change Bags Regularly: Replace the bag every 1-3 months, depending on usage. Frequent changes prevent blockages and keep suction strong.
- Use High-Quality Bags: Choose bags designed for your vacuum model. Quality bags capture more dust and reduce allergens.
- Seal Used Bags Properly: Once you remove a bag, seal it tightly before disposal. This prevents dust from escaping into your home.
- Clean the Vacuum Chamber: Dispose of any debris in the vacuum chamber each time you change the bag. This keeps your vacuum clean and reduces odors.
- Reduced Suction Power: If you notice decreased suction, the bag might be full. Check or change the bag promptly.
- Unusual Noises: A loud or strange noise during operation indicates clogs or a full bag.
- Visible Dust Leaks: If dust escapes from your vacuum, the bag may be full or damaged. Address this issue immediately.
- Overheating: If your vacuum gets hot during use, it could mean airflow is restricted by a full bag.
- Cleaning Frequency: If you vacuum frequently and notice quick fill-ups, increase your bag-checking routine.
These maintenance tips ensure your vacuum cleaner operates efficiently, keeping your home cleaner and healthier.
Conclusion
Changing the bag in your vacuum cleaner is a simple yet essential task that can make a world of difference in its performance. By staying on top of this routine maintenance you’ll not only extend the life of your vacuum but also ensure your home stays clean and dust-free.
Remember to follow the steps carefully and keep an eye out for any signs that your vacuum might need a little extra TLC. With just a bit of effort you can keep your vacuum running smoothly and efficiently. Happy cleaning!
Frequently Asked Questions
Why is it important to change vacuum cleaner bags regularly?
Changing vacuum cleaner bags regularly is crucial for maintaining performance and efficiency. Full bags can block airflow, leading to reduced suction power and increased strain on the motor, which may shorten the vacuum’s lifespan. Regular changes prevent allergens and dust from circulating back into your home, ensuring a cleaner and healthier living environment.
How do I know when to change my vacuum cleaner bag?
You should change your vacuum cleaner bag when you notice reduced suction power, unusual noises, or visible dust leaks. If the bag looks full or has been in use for an extended period, it’s time to replace it. Regular checks during your cleaning routine can help keep your vacuum running optimally.
What type of vacuum cleaner bags should I use?
Always opt for high-quality vacuum bags that are compatible with your specific vacuum model. Check the manufacturer’s recommendations for the right bag type. Quality bags trap more dust and allergens, improving performance and air quality in your home.
What steps should I follow to change a vacuum cleaner bag?
To change a vacuum cleaner bag, first ensure the vacuum is unplugged. Prepare by wearing protective gear, then remove the old bag, ensuring not to spill its contents. Install the new bag securely, making sure it fits properly. Finally, check for suction and any air leaks to confirm everything is working well.
How can I maintain my vacuum cleaner for optimal performance?
To maintain your vacuum, change the bags regularly, use high-quality bags, and keep the vacuum chamber clean. Also, check for clogs in hoses and filters, and perform routine inspections for wear and tear. This will not only enhance performance but also extend the life of your vacuum cleaner.
What are some common signs that my vacuum cleaner needs maintenance?
Common signs include reduced suction power, strange noises during operation, visible dust escaping from the vacuum, overheating, and slower cleaning performance. If you encounter these issues, it’s essential to conduct maintenance checks and address any problems promptly to keep your vacuum running smoothly.

