
Is your Bissell vacuum struggling to pick up dirt like it used to? A worn or broken belt might be the culprit. This common issue can leave you frustrated and your home less clean than you’d like. But don’t worry—replacing the belt is a straightforward task you can tackle yourself.
Key Takeaways
- Identify Symptoms: A worn or broken belt can lead to reduced suction power, unusual noises, and a non-spinning brush roller. Recognizing these symptoms is key to troubleshooting your Bissell vacuum.
- Gather Essential Tools: Before starting the belt replacement, ensure you have a Phillips-head screwdriver, a replacement belt, scissors, a small container for parts, and work gloves to protect your hands.
- Follow Steps Carefully: Replace the belt by unplugging the vacuum, removing the bottom cover, detaching the old belt, and installing the new belt by properly positioning it over the motor shaft and brush roller.
- Regular Maintenance: Conduct regular checks on the belt for any signs of wear or damage, clean the brush roller after each use, and replace filters every 3-6 months to maintain optimal performance.
- Prevent Common Issues: To avoid frequent belt breakage and vacuum overheating, ensure that the vacuum is free from obstructions and the brush roller is functioning correctly.
- Refer to the User Manual: Always consult your Bissell vacuum’s user manual for specific guidance on replacements, maintenance, and using the right attachments for different surfaces.
Tools Required
To replace the belt on your Bissell vacuum, gather the following tools:
- Screwdriver: A Phillips-head screwdriver works best for removing screws.
- Replacement Belt: Ensure you get the correct belt model compatible with your vacuum.
- Scissors: These can assist in cutting any adhesive or old, frayed parts.
- Small Container: Use this to hold screws and small components during the process.
- Work Gloves: Protect your hands while working to avoid injury.
These tools make the belt replacement process easier and more efficient, allowing you to restore your vacuum’s performance effectively.
Step-by-Step Guide
Replacing the belt on your Bissell vacuum can restore its performance. Follow these detailed steps for an effective replacement process.
Recommended Products
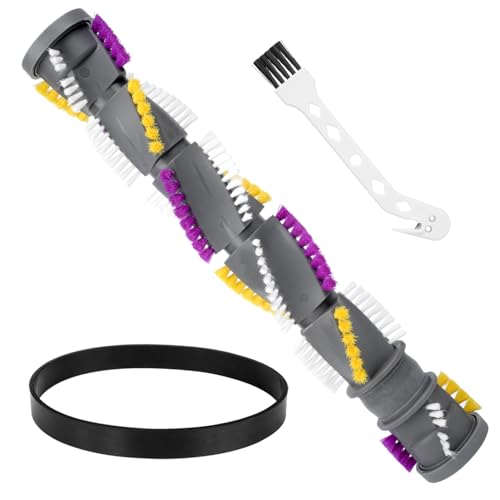
Complete Brush Roll & Belt Replacement Kit (#3031120) Restore strong cleaning performance with this complete replacement kit. Includes a high-quality brush roll and a multipurpose cleaning brush—designed to bring your vacuum back to peak efficiency.
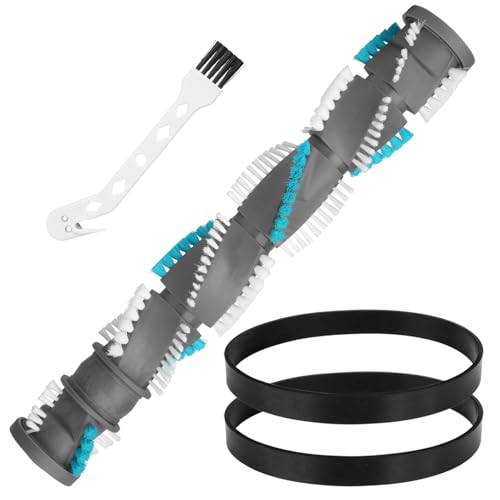
Complete Replacement Kit Restore your vacuum’s original cleaning power with this complete brush roll and belt kit. Includes 1× brush roller and 1–2× drive belts and 1× multipurpose cleaning brush.to replace worn parts and improve vacuum efficiency.
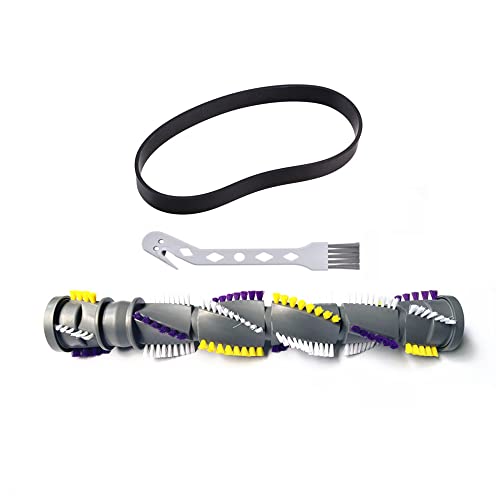
1. The product is suitable for Bisser vacuum cleaner brush roller belt 2252 2489 22543 24899 3195 3196 3197 3197A 3198 3198A 1327 1333 1820, 2383, 1825, 1813, 1823, 18252, 1825R, 1836, 1838, 2256, 2254, 22543, 22548, 2255, 2739, 2256K, 2258, 22582, 2259, 1830, 2260, 2253, 22547, 22549, 2316, 2252, 2488, 2486, 2487, 2492, 2490, 2489, 24899, 2491, 2494, 2254 replacement part number 1604545, 1611230
Preparing the Vacuum
- Unplug the vacuum. Ensure it’s safe to work on.
- Gather your tools, including scissors, a small container, and your replacement belt.
- Find a clean and spacious work area to prevent any parts from getting lost.
Removing the Old Belt
- Remove the screws from the bottom cover using a screwdriver. Keep them organized in your small container.
- Lift the bottom cover off to expose the brush roller and old belt.
- Carefully detach the brush roller by pulling it straight out. Make sure to note how it fits in place.
- Once the roller is out, locate the old belt. Slide it off the motor shaft and the brush roller.
Installing the New Belt
- Take your new belt and stretch it over the motor shaft.
- Loop the other end around the brush roller. Ensure it fits snugly.
- Position the brush roller back in place, making sure the belt stays in position.
- Replace the bottom cover, aligning it correctly with the screw holes.
- Secure the cover by tightening the screws. Ensure they are snug but not over-tightened.
- Plug in the vacuum and run it briefly to check for proper operation and belt tension.
These steps should help you replace the belt on your Bissell vacuum quickly and efficiently.
Tips for Maintenance
Maintaining your Bissell vacuum ensures its longevity and efficiency. Follow these tips to keep your vacuum in top shape.
Regularly Check the Belt
- Inspect the belt every few months for signs of wear, such as cracks or fraying.
- Replace the belt immediately if you notice damage to maintain optimal suction.
Clean the Brush Roller
- Remove hair and debris from the brush roller after each use to prevent clogging.
- Use scissors to cut tangled threads or hair for easier removal.
Empty the Dirt Container
- Empty the dirt container once it reaches the full line to maintain suction power.
- Clean the container with warm soapy water regularly for hygiene.
Replace Filters
- Check and replace filters every 3 to 6 months, depending on usage.
- Rinse and dry washable filters before reinstalling them.
Store Properly
- Store your vacuum in a dry place away from extreme temperatures.
- Avoid wrapping the cord tightly around the vacuum, which could damage the cord or components.
- Use specific attachments for different surfaces to enhance cleaning.
- Refer to the user manual for guidance on which attachments to use for optimal results.
By following these maintenance tips, you can ensure your Bissell vacuum operates efficiently and lasts longer.
Common Issues
Replacing the belt on your Bissell vacuum often resolves several common problems. These issues can affect the vacuum’s performance, and understanding them helps maintain optimal function.
Loss of Suction Power
You might notice a drop in suction power. A worn or broken belt prevents the brush roller from spinning properly, impacting the vacuum’s ability to lift dirt and debris. Check the belt frequently and replace it as needed to maintain strong suction.
Unusual Noises
A fraying or broken belt can cause strange noises during operation. If you hear a grinding sound, inspect the belt immediately. A simple replacement can eliminate the noise and improve your vacuum’s performance.
Brush Roller Not Spinning
If the brush roller isn’t spinning, you might have a belt issue. This problem often occurs due to a snapped belt or blockage. Inspect the belt first, and if it’s intact, check for obstructions around the brush roller.
Vacuum Overheating
Overheating can result from a damaged belt causing excessive friction. If your vacuum shuts off during use, make sure to check the condition of the belt. Replace any worn belts to prevent further overheating issues.
Frequent Belt Breakage
If you frequently replace the belt, check for underlying issues. Object obstructions, brush roller damage, or incorrect belt installation may contribute to rapid wear. Ensure the vacuum is free from debris and that the brush roller functions correctly.
- Regular Check-Ups: Inspect the belt every few months.
- Immediate Replacement: Replace the belt at the first sign of wear.
- Avoid Overloading: Don’t vacuum large debris that might strain the belt.
By addressing these common issues promptly and following maintenance tips, you keep your Bissell vacuum performing efficiently.
Conclusion
Replacing the belt on your Bissell vacuum doesn’t have to be a daunting task. With just a few simple steps you can restore your vacuum’s performance and keep your home clean. Remember to check the belt regularly and address any signs of wear immediately.
By staying on top of maintenance and using your vacuum properly you’ll not only extend its life but also enjoy a cleaner living space. So grab that new belt and get to work—your vacuum and your floors will thank you!
Frequently Asked Questions
What happens if the Bissell vacuum belt is worn or broken?
A worn or broken vacuum belt can significantly reduce suction power, leading to poor cleaning performance. It may also cause unusual noises or prevent the brush roller from spinning, which can further impact effectiveness.
How do I replace the belt on my Bissell vacuum?
To replace the belt, first unplug the vacuum. Open the vacuum’s cover, remove the brush roller, and slide off the old belt. Then, place the new belt on the motor shaft and reassemble the brush roller and cover.
How can I maintain my Bissell vacuum for optimal performance?
Maintain optimal performance by regularly checking and replacing the belt, cleaning the brush roller, emptying the dirt container, changing filters, and ensuring proper storage practices. This helps prevent issues and prolongs the vacuum’s lifespan.
What are common signs that the vacuum belt needs replacement?
Common signs include a loss of suction power, the brush roller not spinning, unusual noises, overheating, and frequent belt breakage. Inspect the belt regularly and replace it at the first sign of wear.
Can I replace my Bissell vacuum belt myself?
Yes, replacing the belt is a simple DIY task. Following the manufacturer’s instructions and using basic tools, you can easily replace the belt without professional help, saving time and money.
